Five Week Fixes - Week Four
We worked SO hard this week and I’m absolutely thrilled at how much we got done!
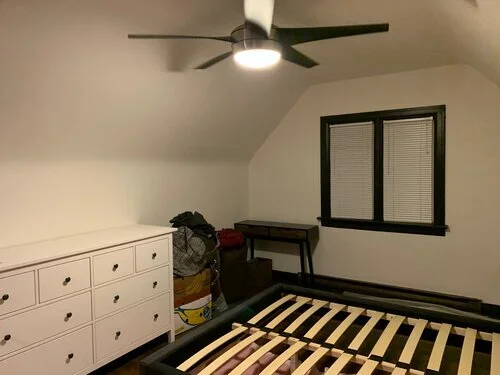
My incredible mom took a day off work this week and primed our entire kitchen. Over the weekend my family came down multiple days and between all of us we finished priming and painting the entire top floor, the kitchen, and the entryway. Laminate flooring got fully finished in the master bedroom and upstairs hallway and I was able to start the new vinyl tile in the entry. All of the new drain plumbing for the full bath was completed, fresh underlay was laid on the bathroom floor as a base for the tile, and we’ve started drywalling the shower surround. In addition to all that, we did tons of “little” things.

This is a small space and a small change but these were the original closet floors.

And these are the new vinyl tiles! Much cleaner, fresher, and a little easier on the eyes.
I thought this week might be a good opportunity to talk about all the “small” things that can actually make a huge impact in your space. These things don’t cost a lot or take a lot of time or expertise, but they make a big difference in how your home feels. A lot of them will be possible and applicable even if you’re renting your space.
Paint
I feel like this gets talked about all the time and honestly I think a lot of people misrepresent painting as a cheap project. It’s not! At least in Ontario, the cost for quality paint and primer to freshen up even a modestly sized room can exceed $100, or even $150 if you need to paint the trim and doors as well. That’s not a reason not to do it though!
Even if you have no experience, painting is totally doable. Buy some good rollers and brushes and take your time refining your technique and even a total amateur can get a great result. The National Association of Realtors in the US conducted a survey that assessed the “Joy Score” of home renovation projects rather than the return on investment when selling. Joy Score indicated how much happier homeowners were to have had the project done and interior paint was in the top three results with a 9.8 out of 10. A space really can look and feel completely different which a fresh coat of paint.
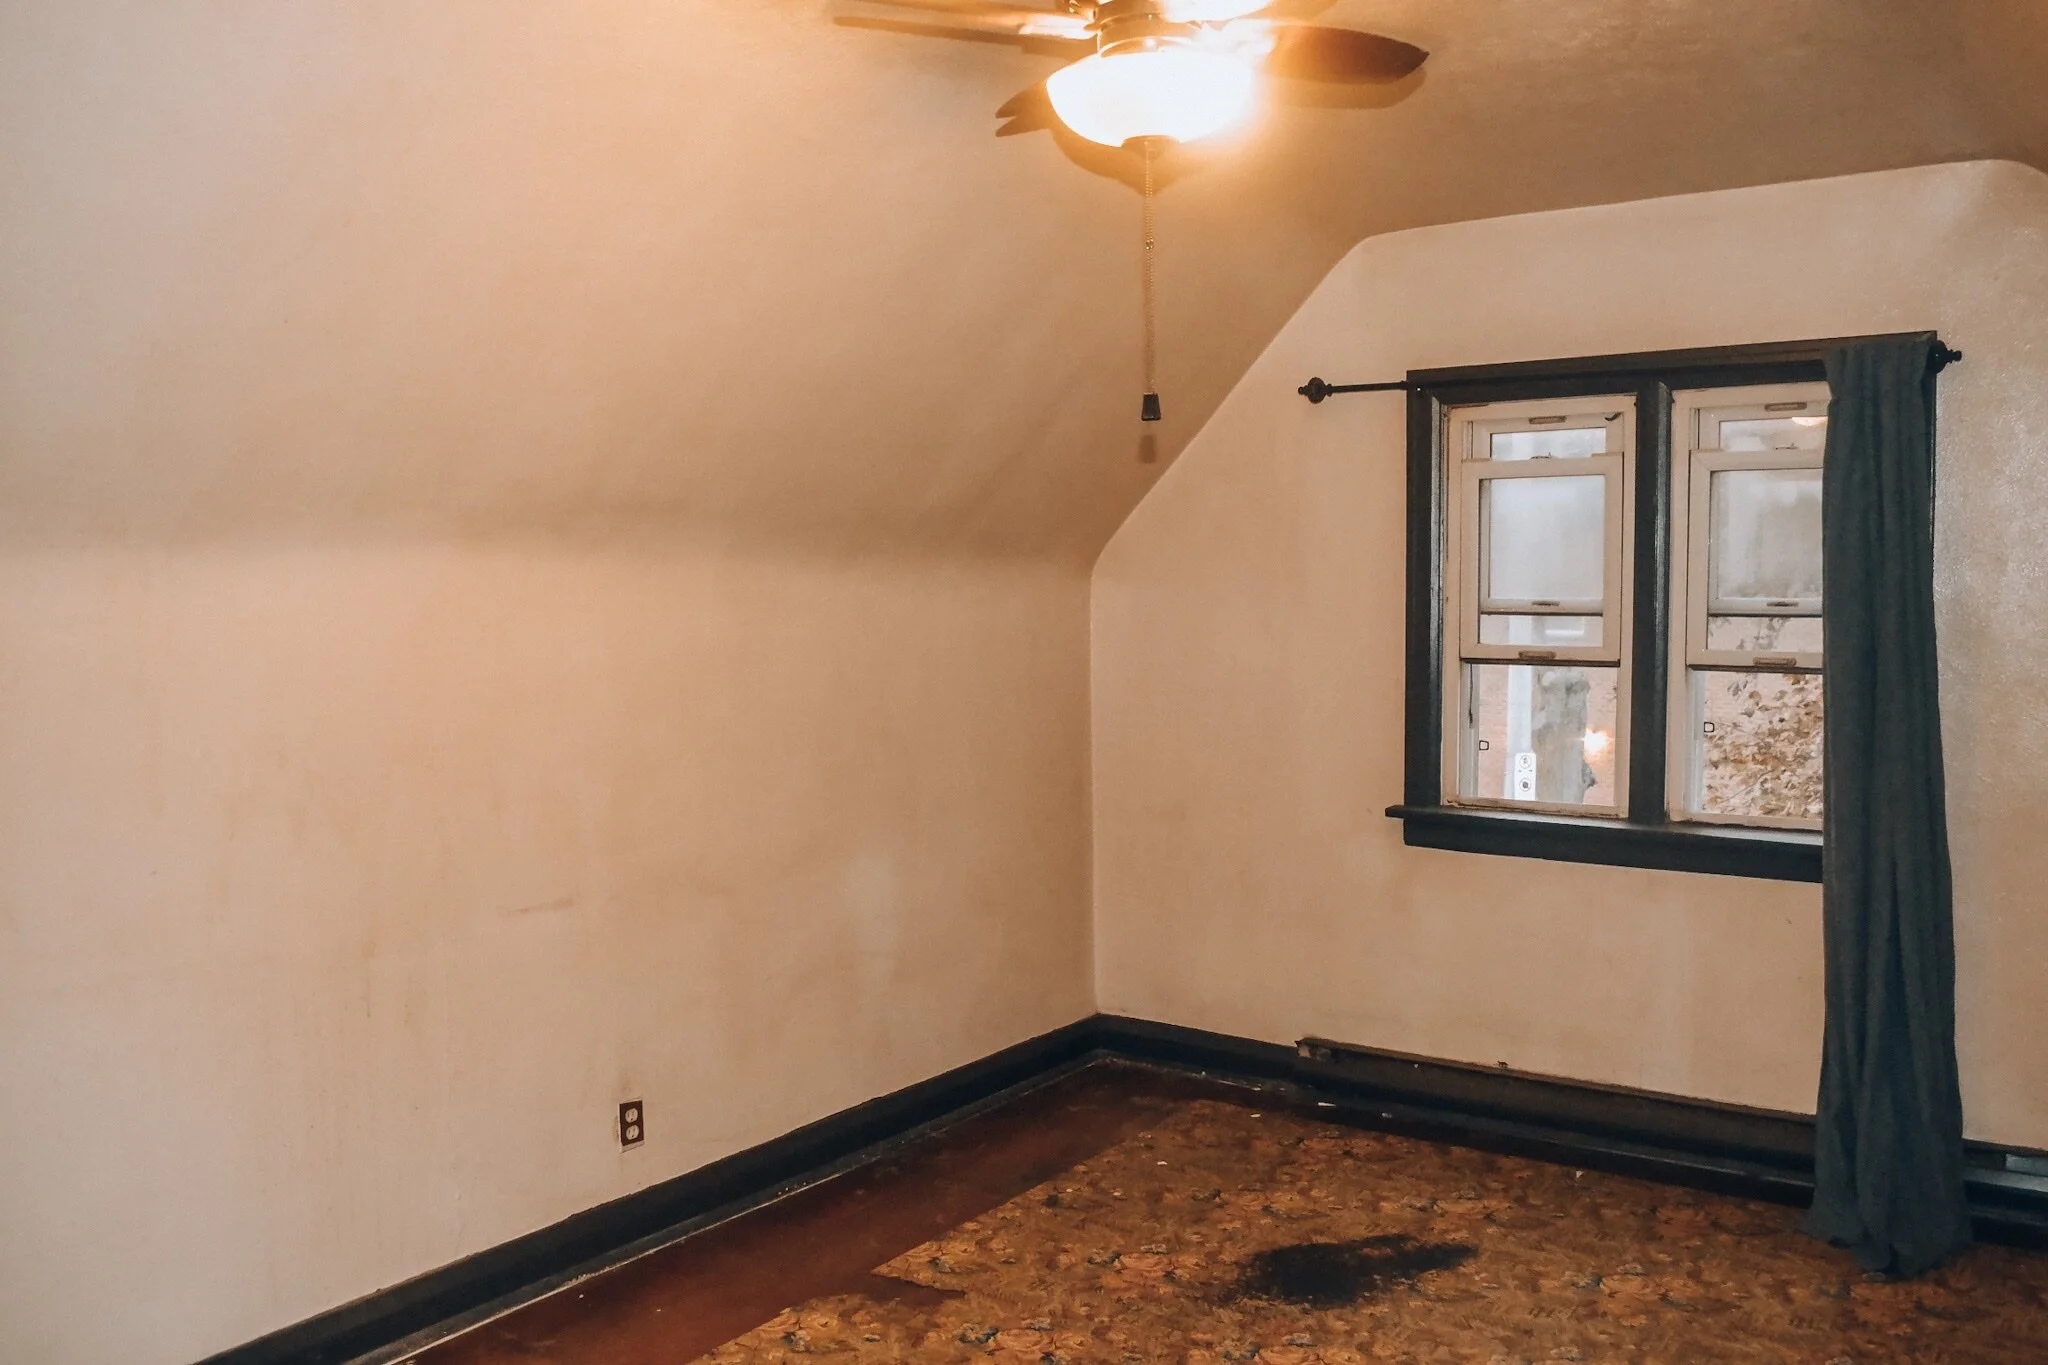
Before: You can see the visible staining on the walls, and the semi-gloss finish emphasizes the heavy texture (which is also inconsistent throughout).

After: The walls are clean, with stains and smells covered, and the eggshell finish hides the texture rather than drawing your eye to it. Curtains are still coming back onto that window though!
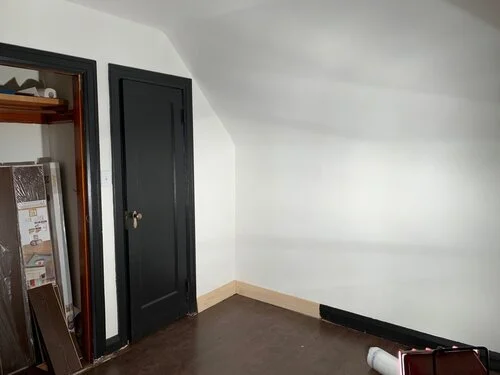
In my 80 year-old home paint has made an enormous difference. The spaces I came into had dirty walls painted a yellowed semi-gloss colour. It made every room feel dated and sad. Before changing anything else (like flooring, light fixtures, furnishing, etc.), paint alone made a huge difference in these spaces. Taking the bedroom walls from a dirty, shiny, yellow colour to a fresh warm-toned white eggshell was absolutely revolutionary.
Tips for Painting:
Clean first. Most of my walls got washed with TSP and rinsed with water before priming. This is faster and easier than sanding and can often omit that step (though sometimes it’s necessary, you may need to try a test spot). TSP is sold in hardware stores and if you’ve got a lot of wall to clean I recommend sponge mops for applying.
Consider priming. If the paint you’re covering has stains or smells, or is significantly darker than the new colour, invest in a good primer rather than just paint or an “all-in-one” paint and primer. Most of my home got two coats of Kilz Hide-All which has done an incredible job masking smells and stains throughout, as well as covering even darker colours so I could paint all my walls white.
Choose good paint. Think about your priorities when painting and remember than investing in a decent quality paint can pay off in the long run. If you have young kids, a low-VOC paint might be most important to you. If you’re covering a dark colour, you may want a paint + primer combo, even if you primed first. I painted most of my house white and even though I primed to hide stains and smells I used two coats of Valspar Ultra and I found it covered everything perfectly.
Choose the right finish. Paint generally ranges in finish from flat which is usually the most matte, to high gloss at the shiniest end of the spectrum. Generally the progression goes flat -> eggshell -> satin -> semi-gloss -> high gloss. Most people paint ceilings flat, bedroom walls eggshell, and high traffic or bathroom/kitchen walls satin (for easier cleaning). Trim is normally semi-gloss but sometimes satin or high-gloss. When I moved in most of my house, including the walls, were semi-gloss. It was.. interesting, but I wanted to tone it down a lot. My advice is to use your judgement and go with what works for you.
Light Fixtures

Wall sconces aren’t something I’d normally pick out but I needed to make some quick fixes here and didn’t have time to move wiring. This cute sconce was from Wayfair!
New light fixtures are an awesome way to update a space and often you don’t need a professional electrician to install them. If the new light fixture isn’t much heavier or more complex than the last, and isn’t moving to a new spot then you can easily change it yourself. Just make sure to switch off the appropriate breaker before you start so there’s no power to it! I didn’t want to go too modern with my entryway fixture but I did want something fresh and bright for this space so I swapped in a new sconce that complements the other brass finishings while stilling looking new.
New light fixtures can be expensive but don’t have to be! I had great luck sourcing a new brass vanity light for my bathroom on Free on Kijiji, and my good friends Adrianne and Matt found awesome deals on modern chandeliers in the clearance section of Lowes and Home Depot!
New Outlets and Switches

Love this in-person before and after (well, after and before)!
Old light switches can be nearly impossible to get clean and painted over outlets can be downright unsafe. Also in old homes you’ll often find many of the electrical outlets and switches are “almond” coloured instead of white which can look dated or dirty. Swapping out these outlets is incredibly inexpensive and honestly not that hard! Again it’s important to be sure the power is off by testing outlets or using a voltmeter on light fixtures before you begin. Once the power is off, just use care to swap them carefully and follow all guidelines on the new pieces. Here was my favourite side-by-side of the weekend when I was halfway through updating this double light switch! A new switch or outlet with the new faceplate generally costs less than $2!
We have to be fully moved out of our apartment by Saturday night and we still don’t have a working tub or shower so it’s going to be a long week but also a fun one - see you in a week with more progress and likely more of a mess!
To Do
Tile both bathroom floors and the shower
Fence along one side of the yard
Frame out the new fireplace enclosure
Run new water line for toilet
Install new toilet
Install new sink/vanity
In Progress
Install blinds on all the windows (main floor, upstairs) - main floor, landing, and master bedroom done!
Clean all the walls with TSP to prep for paint (main floor, upstairs) - upstairs, kitchen, and entry all cleaned!
Prime and paint all walls and ceilings in the entire house - upstairs, kitchen, and entry all primed and painted!
Prime and paint all the upstairs trim and doors - upstairs trim and doors primed, bedroom trim and doors painted!
Clean door hardware - upstairs door hardware removed and cleaned.
Replace light fixtures - upstairs bedroom and hallway fixtures replaced, entryway fixture replaced.
Install laminate flooring upstairs - master bedroom installed, upstairs hallway installed.
Install new quarter round upstairs - master installed.
Install vinyl tile downstairs - entry in progress.
Done
New roof
Install gate to close off the backyard
Remove quarter round upstairs
Demo the bathroom
Install new tub
Replumb toilet, sink, and tub drains