DIY Dog Sleeping Bag
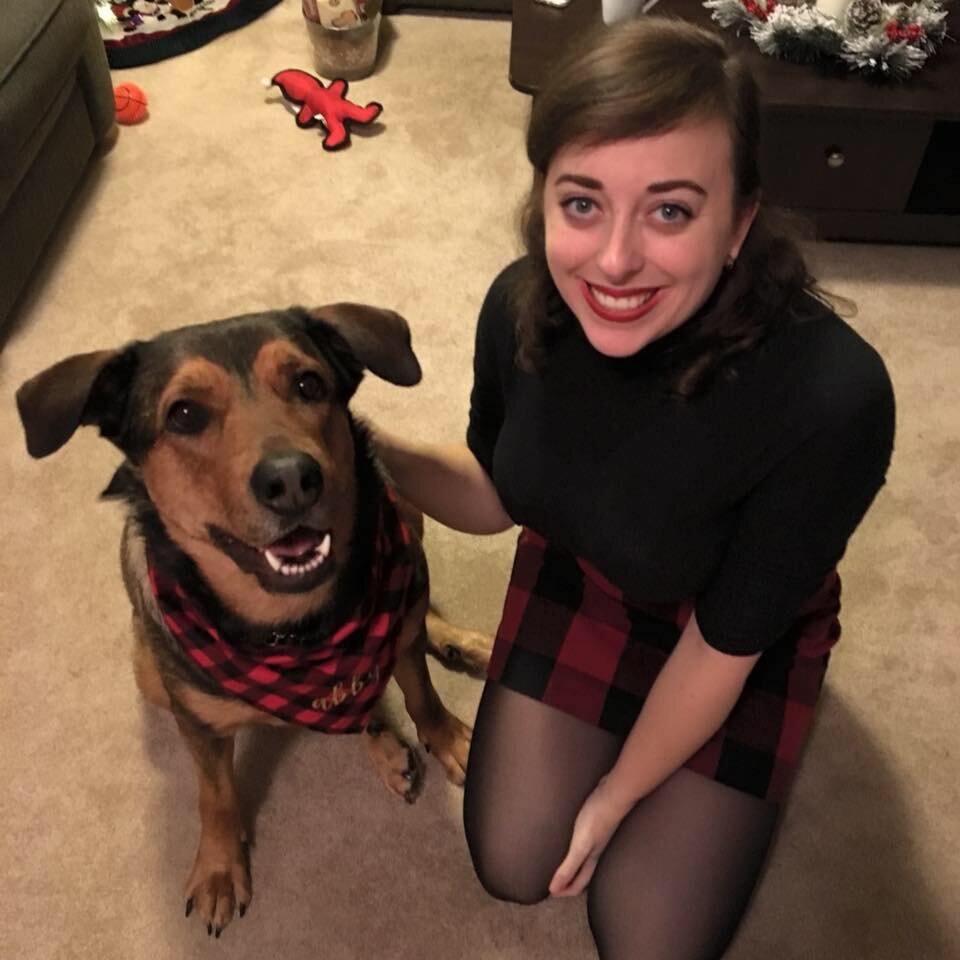
With the influence of some of my incredible friends, I’ve found a real love for canoe camping over the past few years. Ever since I got my dog (a friendly, 90-pound monster named Abby) I’ve wanted to take her with me. Abby’s a big dog and she spends camping trips rolling in mud and diving repeatedly into the water. I love this dog but she doesn’t even sleep in my bed at home, so I’d really like to avoid wet dog in my tent. She’s also more comfortable with freedom to roam and her own safe place to come back to.
I searched online for dog sleeping bags and beds for camping but I couldn’t really find what I was looking for. There were lots of cots or large cushy beds that didn’t make sense to load into a pack and portage. There were lots of beautifully designed bags but most were sized only for small and medium dogs. I also couldn’t decide what made the most sense for us - zipping her in felt like it would make her claustrophobic, and she takes up very different amounts of space depending on how she decides to sleep. Ultimately I decided that if I couldn’t find what I needed I should take a shot at making my own. After this project though I did find a good option on the market, see the end of this post for details!
I’ve mentioned before that I’m not very experienced with a sewing machine so for this project I watched a lot of tutorials and even learned more about my own (ancient) machine. I planned out roughly what I wanted and then ordered my materials from Ripstop by the Roll (not sponsored I was just really impressed with their website for both information and products).
Materials
1.9 oz Ripstop Nylon for the majority of the bag (I ordered 3 yards of Cadmium Yellow to match my tent)
1.9 oz PU coated Ripstop Nylon for the more durable bottom of the bag (I ordered a yard of Charcoal Gray)
Climashield Apex 3.6 oz/sp yd for the filling (I ordered 2 yards and wound up doubling it up)
4 piece snaps to fasten your bag together (I used 12 for 3 sides of my bag)
A snap fastening tool
Thread in the colours of your fabric
Directions
Sketching out my pattern onto the fabric.
If you don’t have a cutting table but do have a Cricut or Silhouette, save your old cutting mats once they lose their stickiness! They’re great to lay on the floor and cut on when you need space to work with.
Make a pattern
I started by taking some measurements of my dog sleeping to see what size I’d need the finished product to be (yes, she thought I was nuts). I sketched out the rough size and shape I wanted on a piece of kraft paper and added a quarter inch seam allowance on all sides for when I stitched it together. When your pattern is complete, cut it out and try to convince your dog to lay down on it to double check.Mark and cut your fabric
Using your pattern, trace onto each piece of your fabric and cut it out. I used a rotary cutter on a cutting mat because my fabric didn’t cut nicely with scissors. For my bed I cut 3 pieces of the pattern out of the yellow fabric and one out of the gray.Sew the top and bottom of your bag
Next I pinned two pieces of fabric together (in my case two yellow, and later one yellow and one gray), right sides together and sewed all the way around leaving about a 12-inch opening. I did this with each pair of fabric pieces, using clips instead of pins on the waterpoof nylon so as not to damage the coating.Cut the filling
Turn the top and bottom of your bag inside out and mark out the size your synthetic sleeping bag filling will need to be. You can generally err on the larger side as this will make your bag fluffier and the synthetic filling packs down quite well. Carefully cut out your filling and if doubling up layers like I did add a couple stitches to secure them together.Fill your bag
Carefully stuff the filling into each bag through the small opening and smooth it out to the edges. Use a blind ladder stitch by hand to close off the bag once the filling is in.Attach the top and bottom
Using another ladder stitch, attach the top and bottom of your bag alone one side. Then use your snap tool to install snaps at equal intervals around the remaining perimeter of the bag.
I can choose which snaps and how many to snap based on how she lays down and how cold it is. Here I left a tail hole open for her!
Most of the time I leave the top fully snapped onto the bottom all the way around and Abby uses the bag as a bed when we’re outside. I love the comfort of knowing that in colder temperatures she’d curl up on the bag and I could even open it and drape part of it over her if needed. Based on human ratings her bag should be good as low as -7°C, which for a dog should be good even colder! Even when she’s not closed up inside it, the bag still gives her a lot of insulation from the ground which is arguably the most important thing!
Before we went on our most recent trip I left the bag out in my living room for a few weeks and encouraged her to sit or nap on it. She got comfortable being on it and when it started raining on our most recent trip she willingly came into the vestibule where I had placed her bag and let me zip the rain fly closed around her. She slept like a baby, snoring all night in the thunderstorm (which I know because she leaned on me through the mesh tent wall the whole time).
Warm enough that she didn’t need to get inside but stormy enough for her to seek out a soft place to sleep out of the rain.
This helps Abby stay warm and comfortable on our trips, but more than that it gives me peace of mind. I love bringing my best friend into the backcountry with me and it makes the whole trip more enjoyable when I know she’s comfortable and safe when I’m tucked in my own sleeping bag!
Let me know if you have questions about this project or taking dogs camping, I’d love to chat more about her other gear and how I tweaked my first aid kit to make sure I was prepared for her (and our other dog friends) as well as my human camping buddies!
Looking for a dog sleeping bag but not willing or able to DIY it? Whyld River makes a very similar bag that looks absolutely gorgeous and requires no cutting or sewing on your part! Not only that, but for every 10 bags she sells, the owner Rachel makes a donation to Portland Animal Welfare Team so it’s a win-win!
Happy camping season!
Mel
She’s sad because she’s having to spend part of her 15 minutes total on a tie-out. She’s also much less impressed by how well her bag matches my tent.
Note: I know that large dogs with thick fur and double coats like this aren’t as susceptible to the cold as smaller dogs, or even as people, but at the end of the day Abby lives a really comfortable life, sleeping on a soft bed in my climate-controlled apartment. I don’t want to suddenly expose her to torrential rain or sub-zero temperatures if the weather takes a turn while we’re out in the backcountry. For our early spring trip this year I knew I’d need to be prepared with an option for her that didn’t involve my sleeping bag if the weather got unexpectedly bad. In the end she didn’t need to be inside the bag, even on the night the temperature dropped to -1°C, but the insulation from the ground helped her for the whole trip and I was relieved to know the option was there if it got any colder.


