New Floors for an Old House | One Room Challenge: Week 3
Welcome back friends! It’s week 3 of the One Room Challenge and we’re making progress! If you’re just tuning in now I’m renovating my kitchen as part of an 8-week challenge. You can check out the last two posts here:
Week 1: Kitchen Plans, Before Photos, and Mood Board
Week 2: Traditional Floorplan vs. Open Concept
This week I’m talking floors! Floors were actually the most challenging decision I had to make for this space for a few reasons and almost all of those reasons are because this is an old house. The flooring in the kitchen also runs through the entryway and closet at the front door, and the hallway/landing at the back of the house. The rest of the main floor (with the exception of the bathroom) is original hardwood, the bathroom is tile, and upstairs I have wood-look laminate in the bedrooms and hall, and tile in the bathroom. I don’t like too many kinds of flooring in a house so I wanted the kitchen, entry, and landing to all stay the same as one another.
connection to other rooms
The living room and two back bedrooms all have the same original hardwood. It’s a personal pet peeve of mine when two different woods butt up against each other, so I wasn’t really interested in wood for this new space unless it perfectly matched the others. I did some research and it was technically possible to procure salvaged hardwood that matched my original stuff, lay it in the kitchen/entry/hall and then sand and refinish it all in place. But it would have been expensive, time consuming, and I would have ideally wanted to hire out at least part of it. My partner and my parents both expressed worry over having hardwood floors in the kitchen and entry where they would be susceptible to water damage. At the end of the day, while I was willing to take the extra time and spend the extra money on this, I know this isn’t our forever house. Within the next 5 years we’ll likely sell it and the idea that I might spend all this time and money only for a future owner to rip out the floors and replace them was too much for me. So hardwood was out, and along with it wood-look laminate.
practical flooring
I’m a huge fan of tile in entryways. Our front door is where we enter and leave the house and we live in Canada so we get 4 seasons which include mud and snow. I don’t want anything too delicate in the entryway, I think it makes sense to have something durable and wipeable that can stand up to boots, and the dog.
creaky old floors
My house is 81 years old, and unsurprisingly, the floors have some bounce and a lot of creaking. I actually kind of love this. It feels warm and cozy to me and I don’t mind the squeaking in the least. That said, you do not want to lay ceramic tile over floors that move - you’re just asking for tiles to crack and grout to loosen. So traditional tile was also out.
the verdict
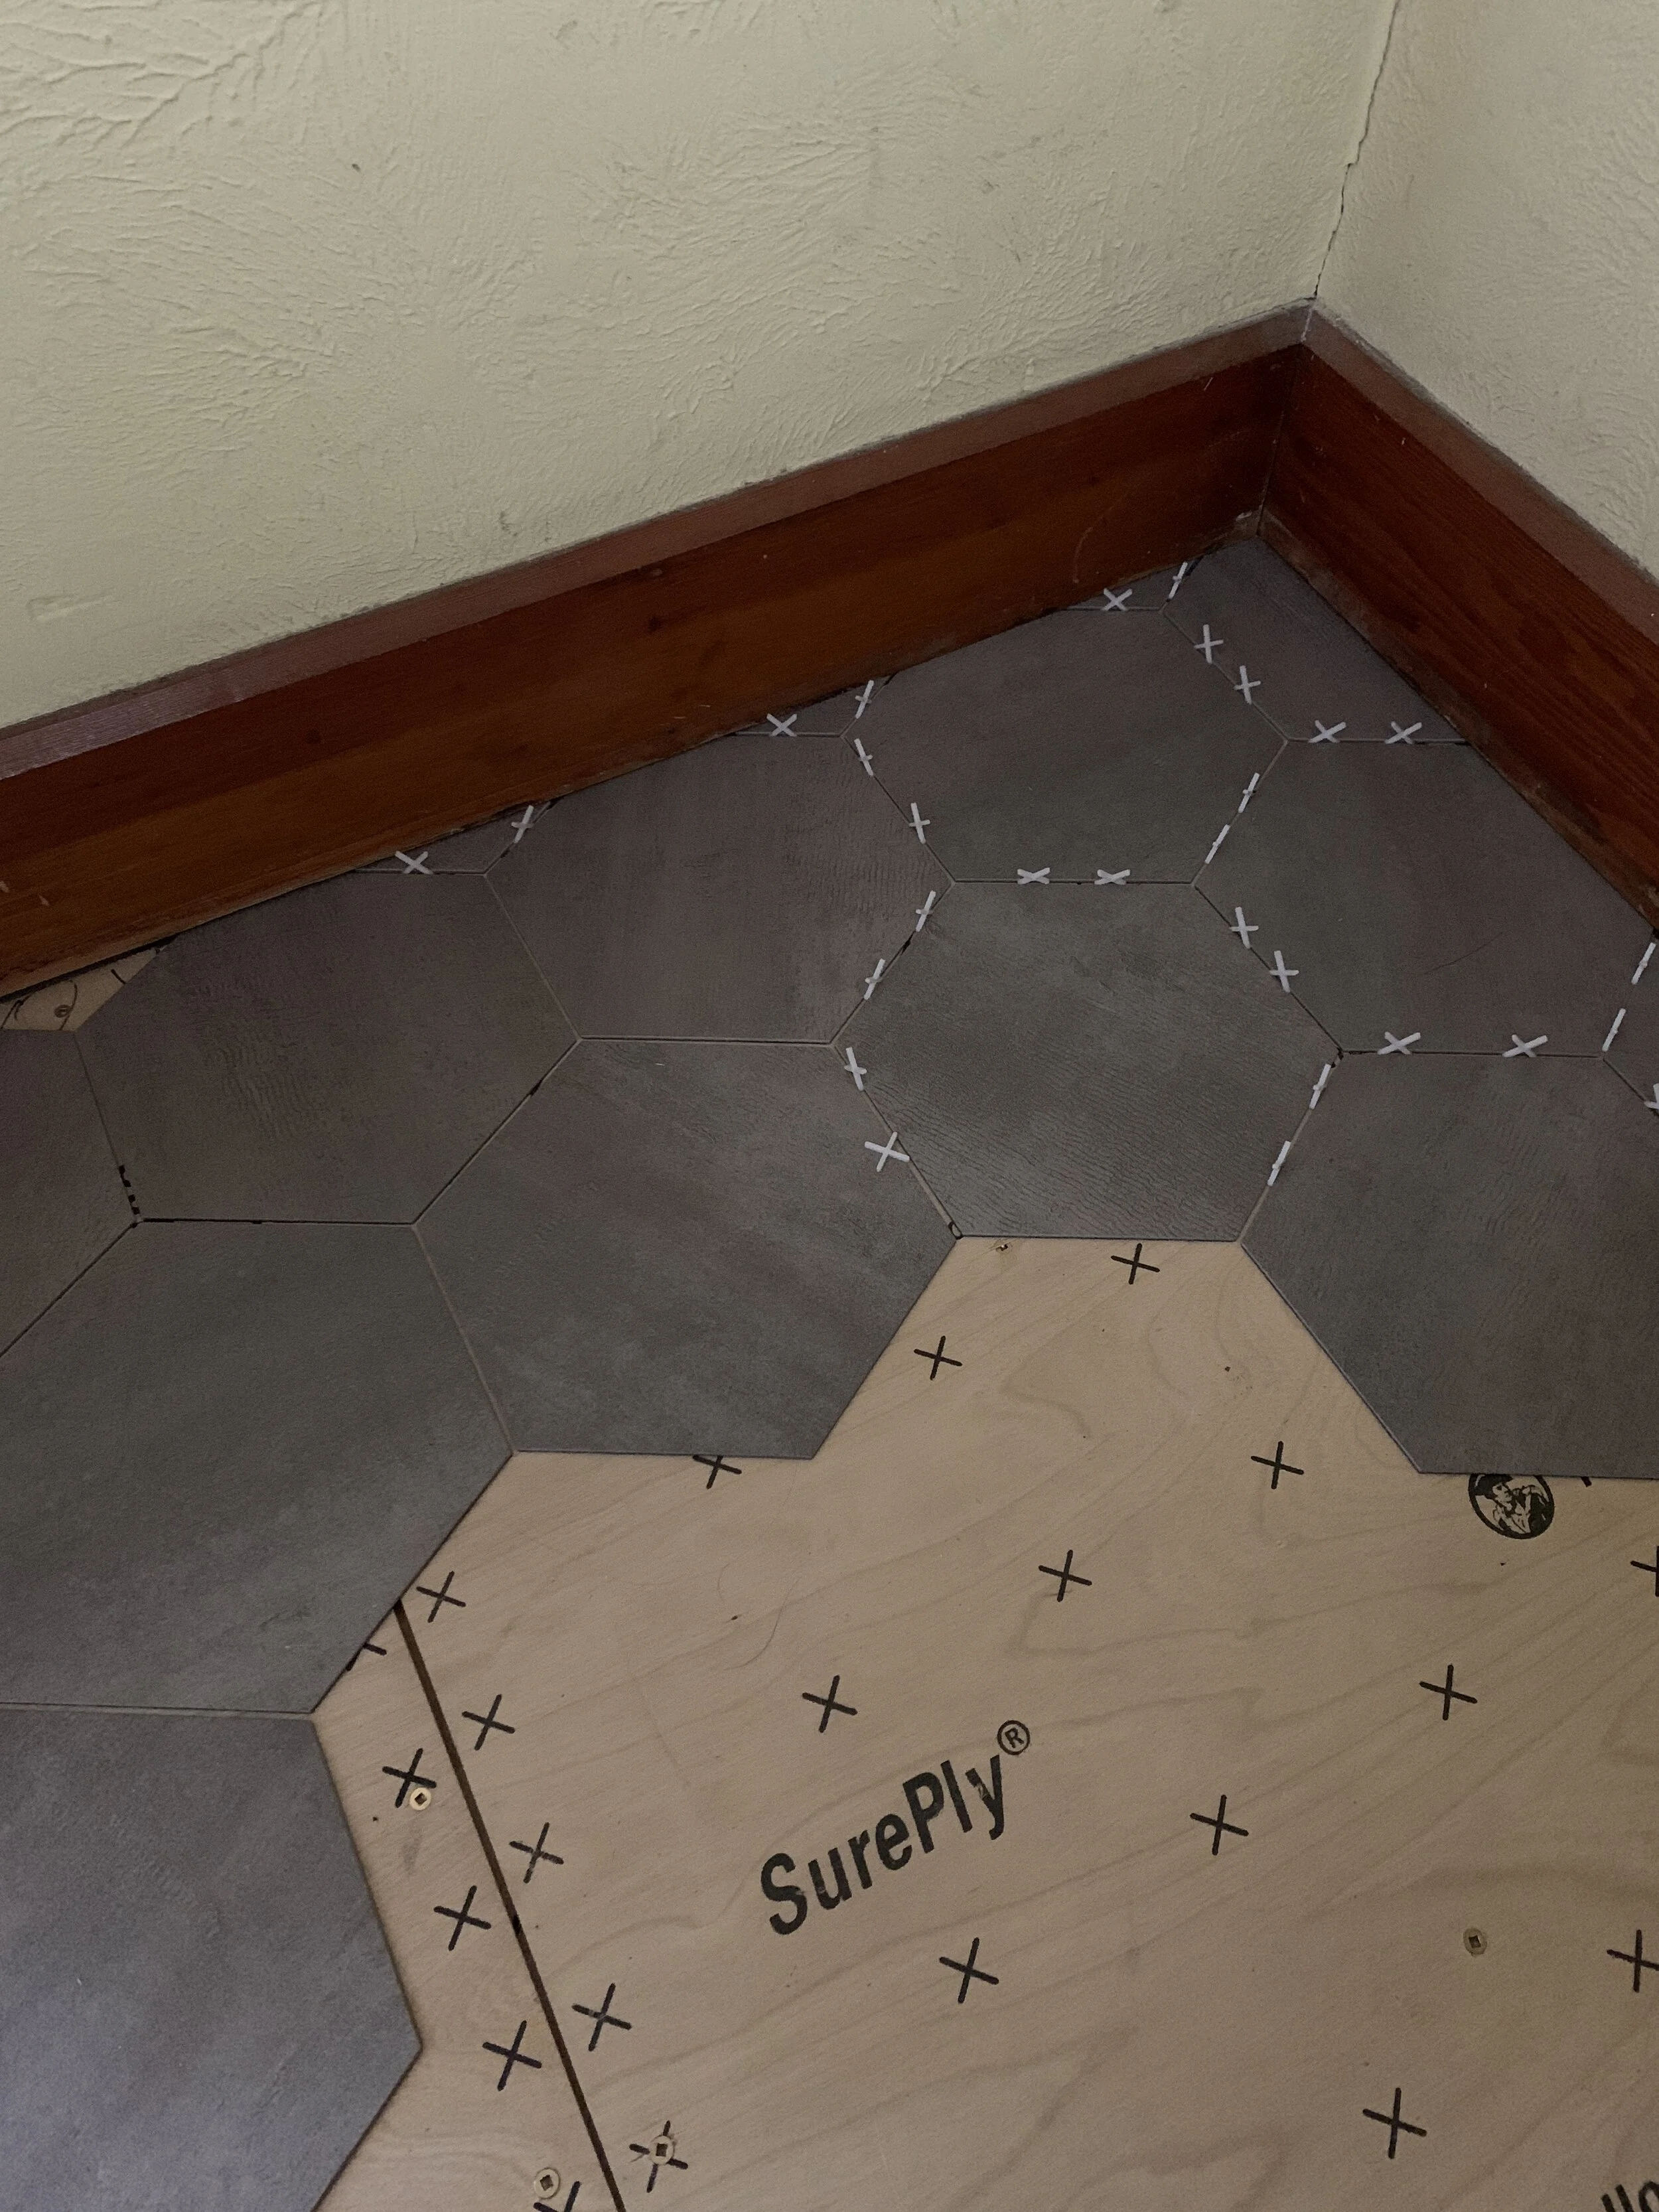
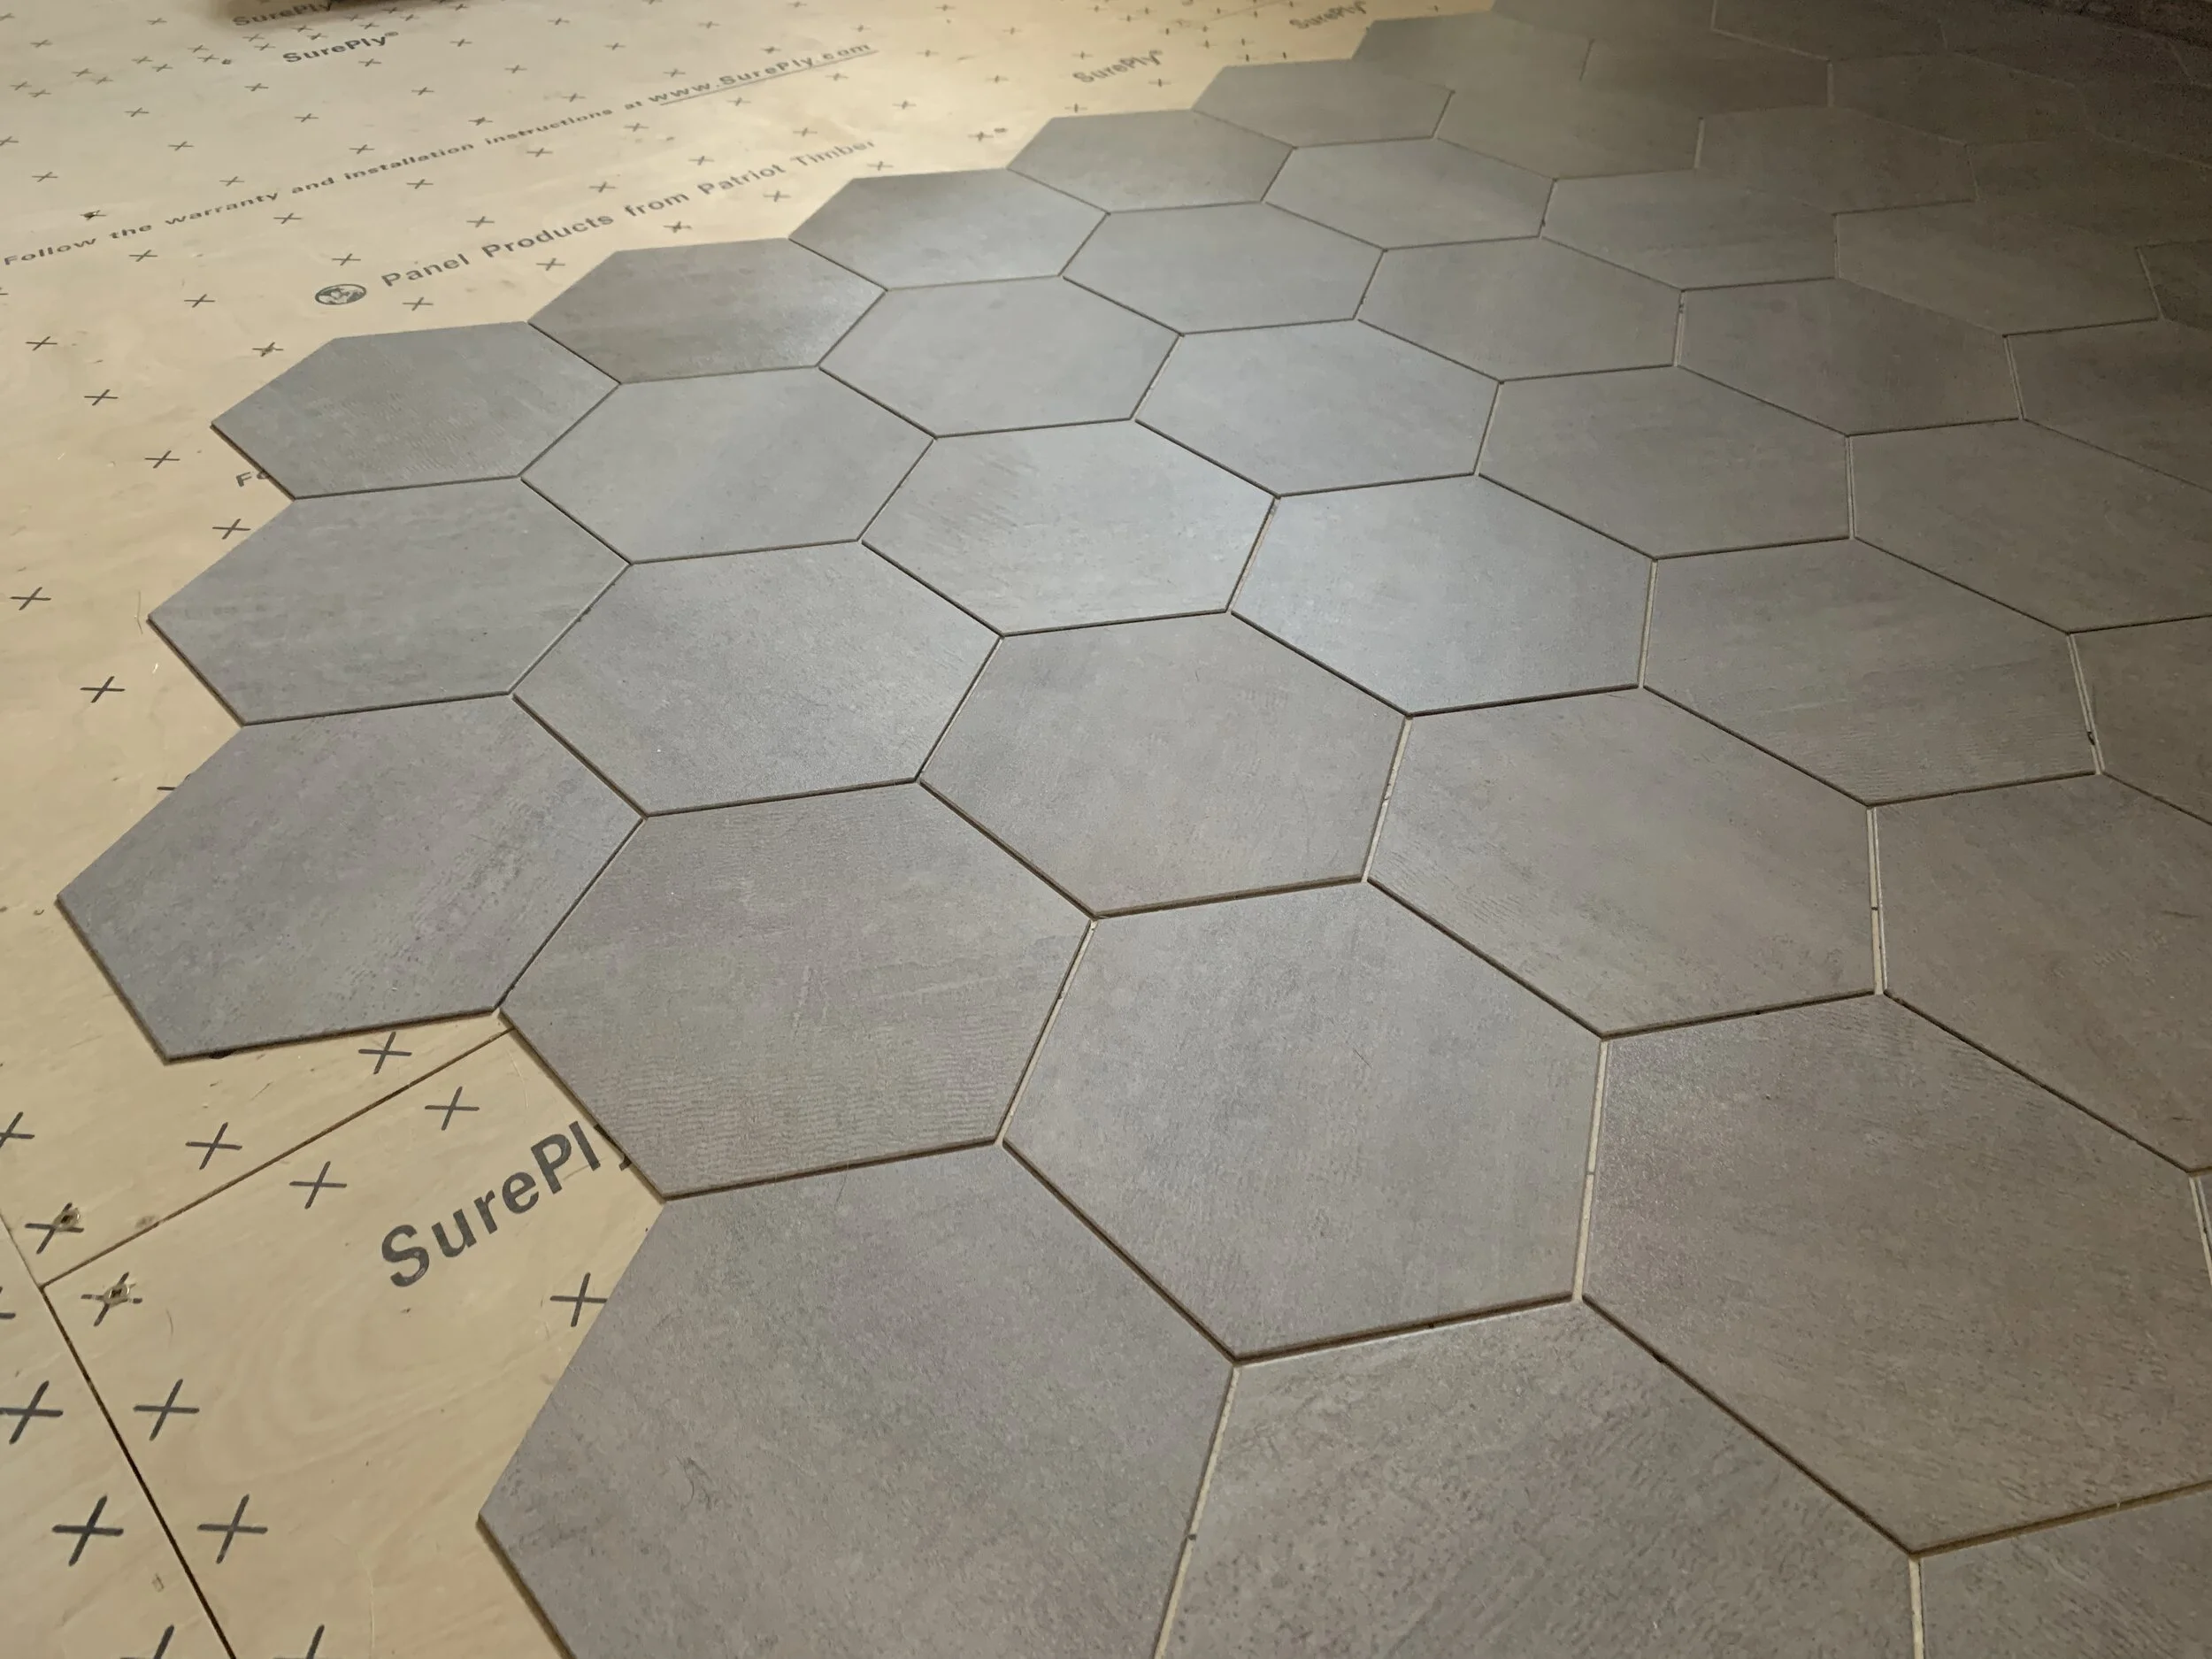
Okay so I didn’t want wood, or laminate that looked like wood. I couldn’t use traditional tile. That left vinyl tile, and sheet vinyl flooring. Vinyl tile has actually come a long way in the last decade, and they now make high end vinyl tile that is even groutable (with flexible vinyl-tile grout). This seemed like the best compromise. It would be durable and easy to clean, would look nice and finished without cheapening the rest of the kitchen, and it wouldn’t look weird when it transitioned to the hardwoods in doorways. I settled on this beautiful warm grey hexagonal tile from Lowes.
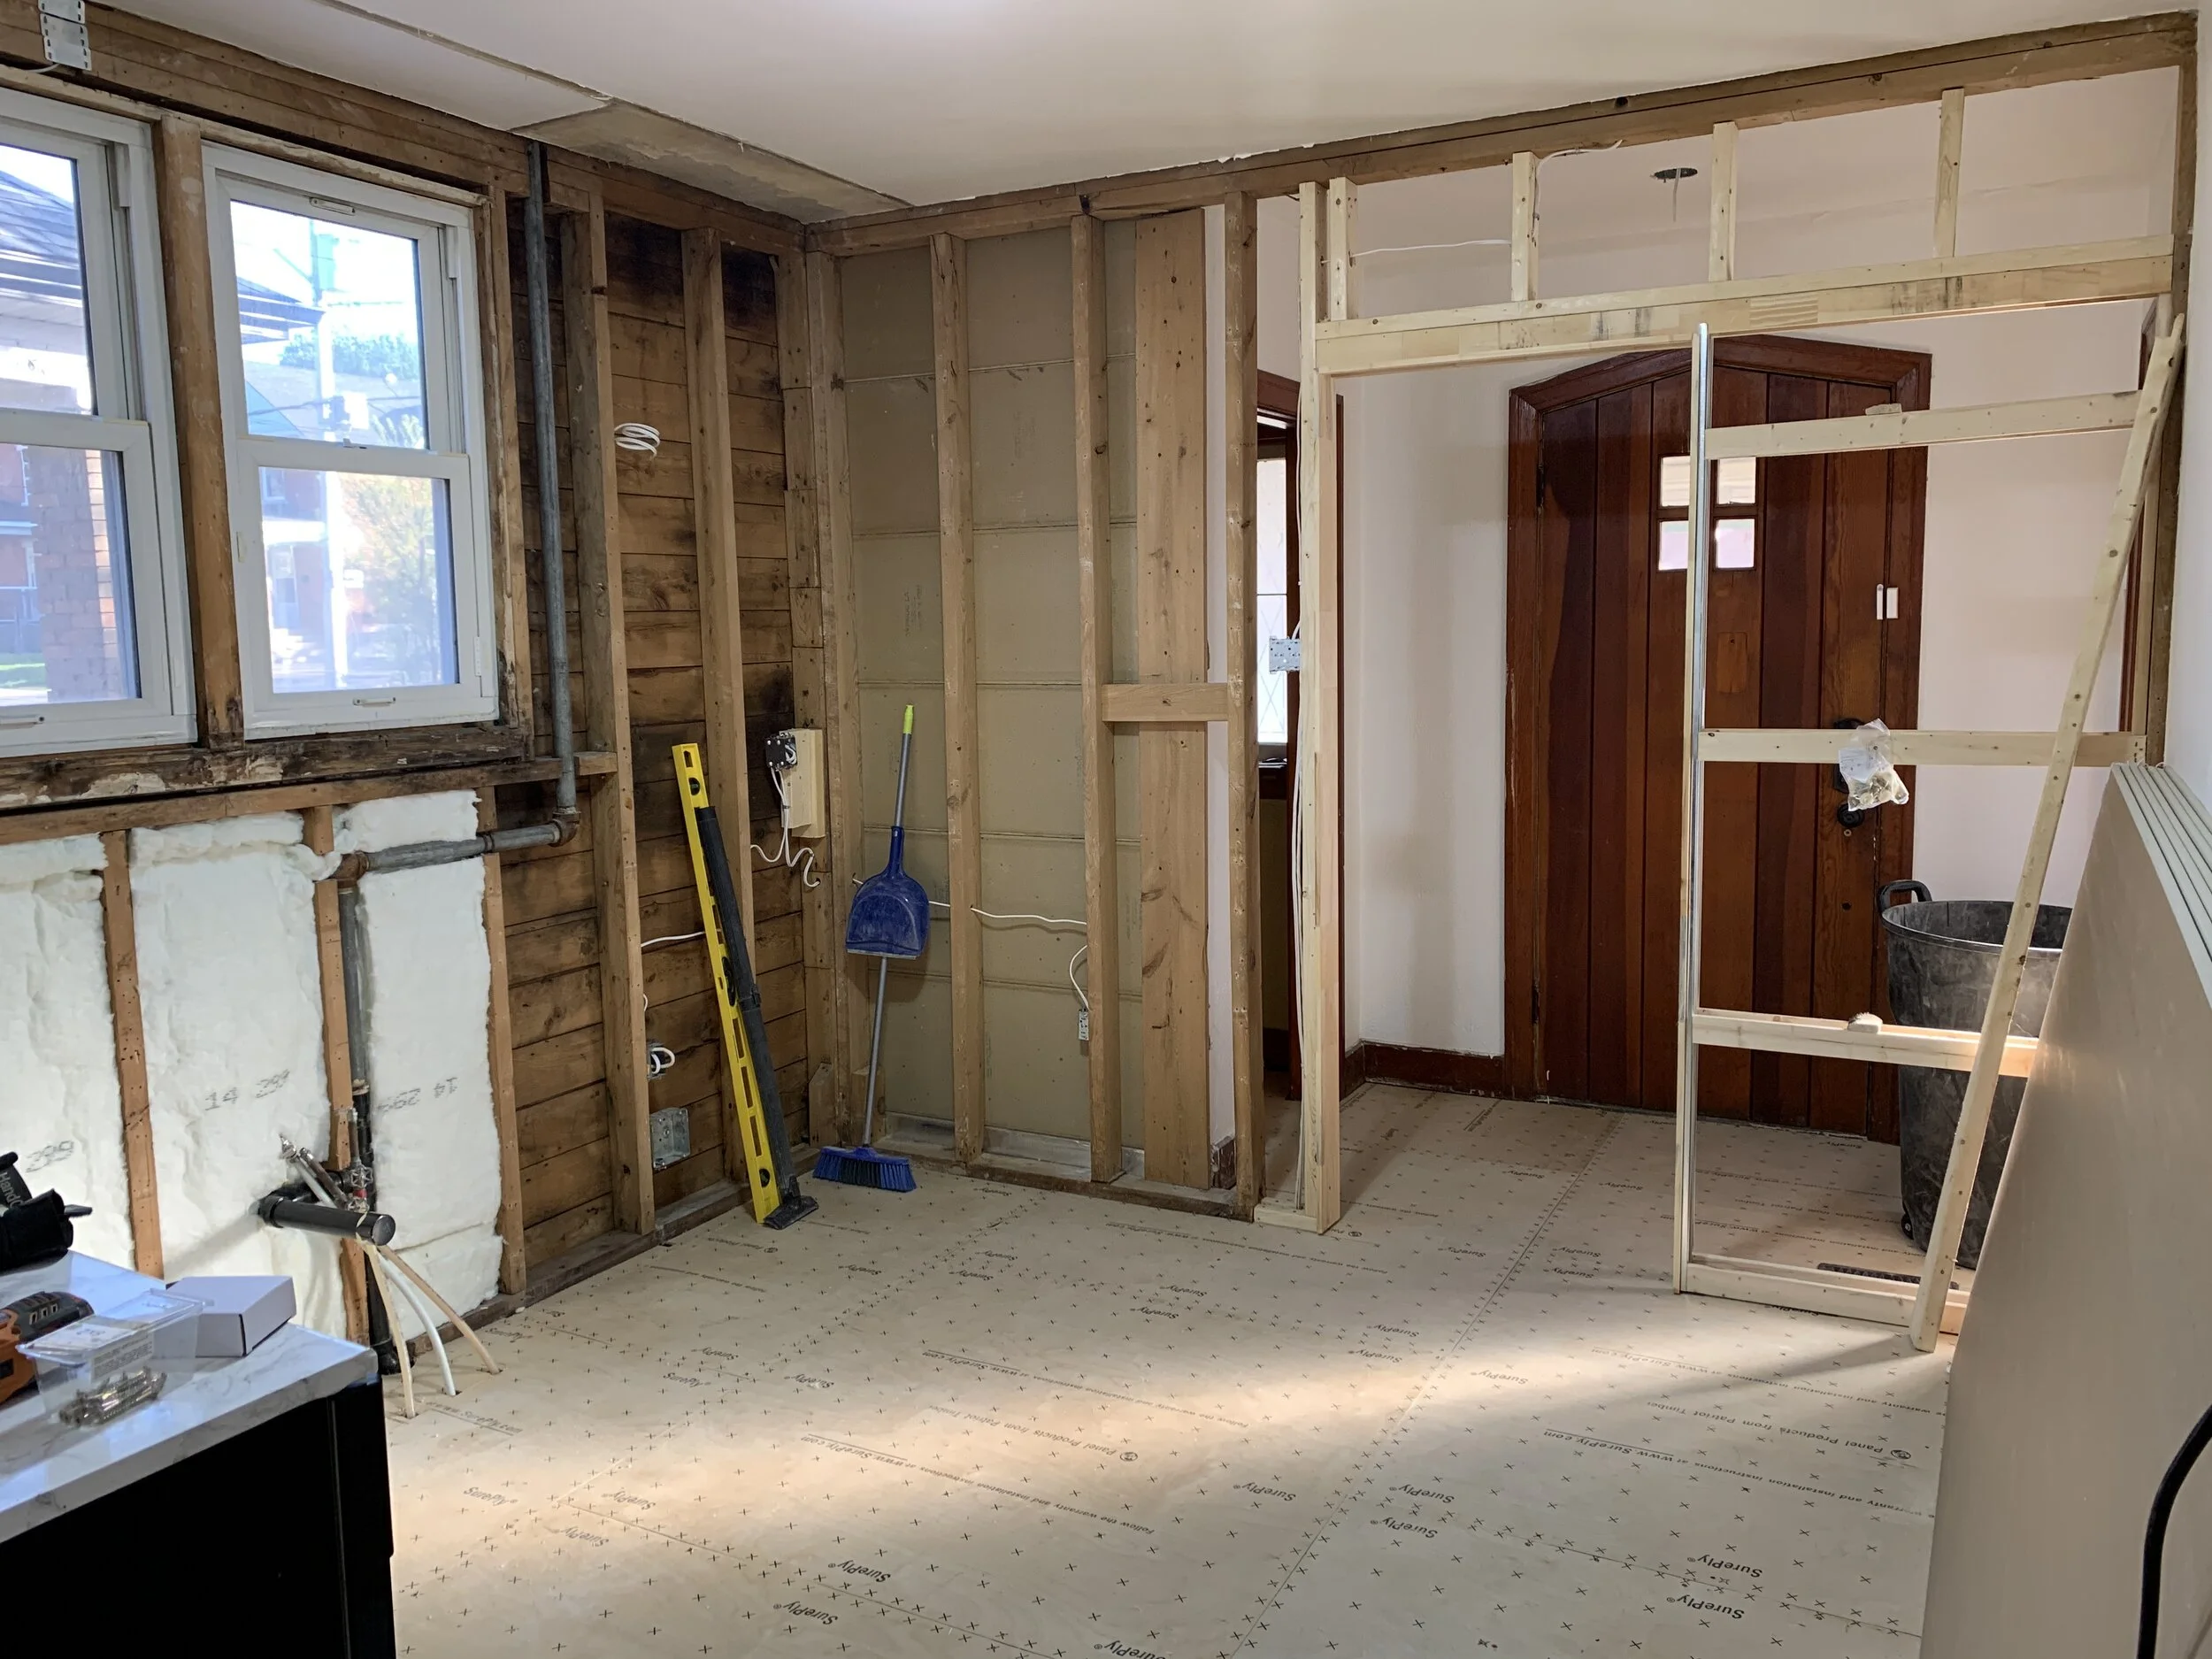
Here’s the fresh underlayment laid down, a perfect surface for new tile.
In order to ensure this tile would stand the test of time, I knew I needed to be very meticulous when installing it. First, we stripped the original floors down to the subfloor, replaced any rotting boards, and reinforced the sections that needed it. We also pulled out thousands of nails. Next, we laid fresh plywood underlayment to give me a smooth surface to tile.
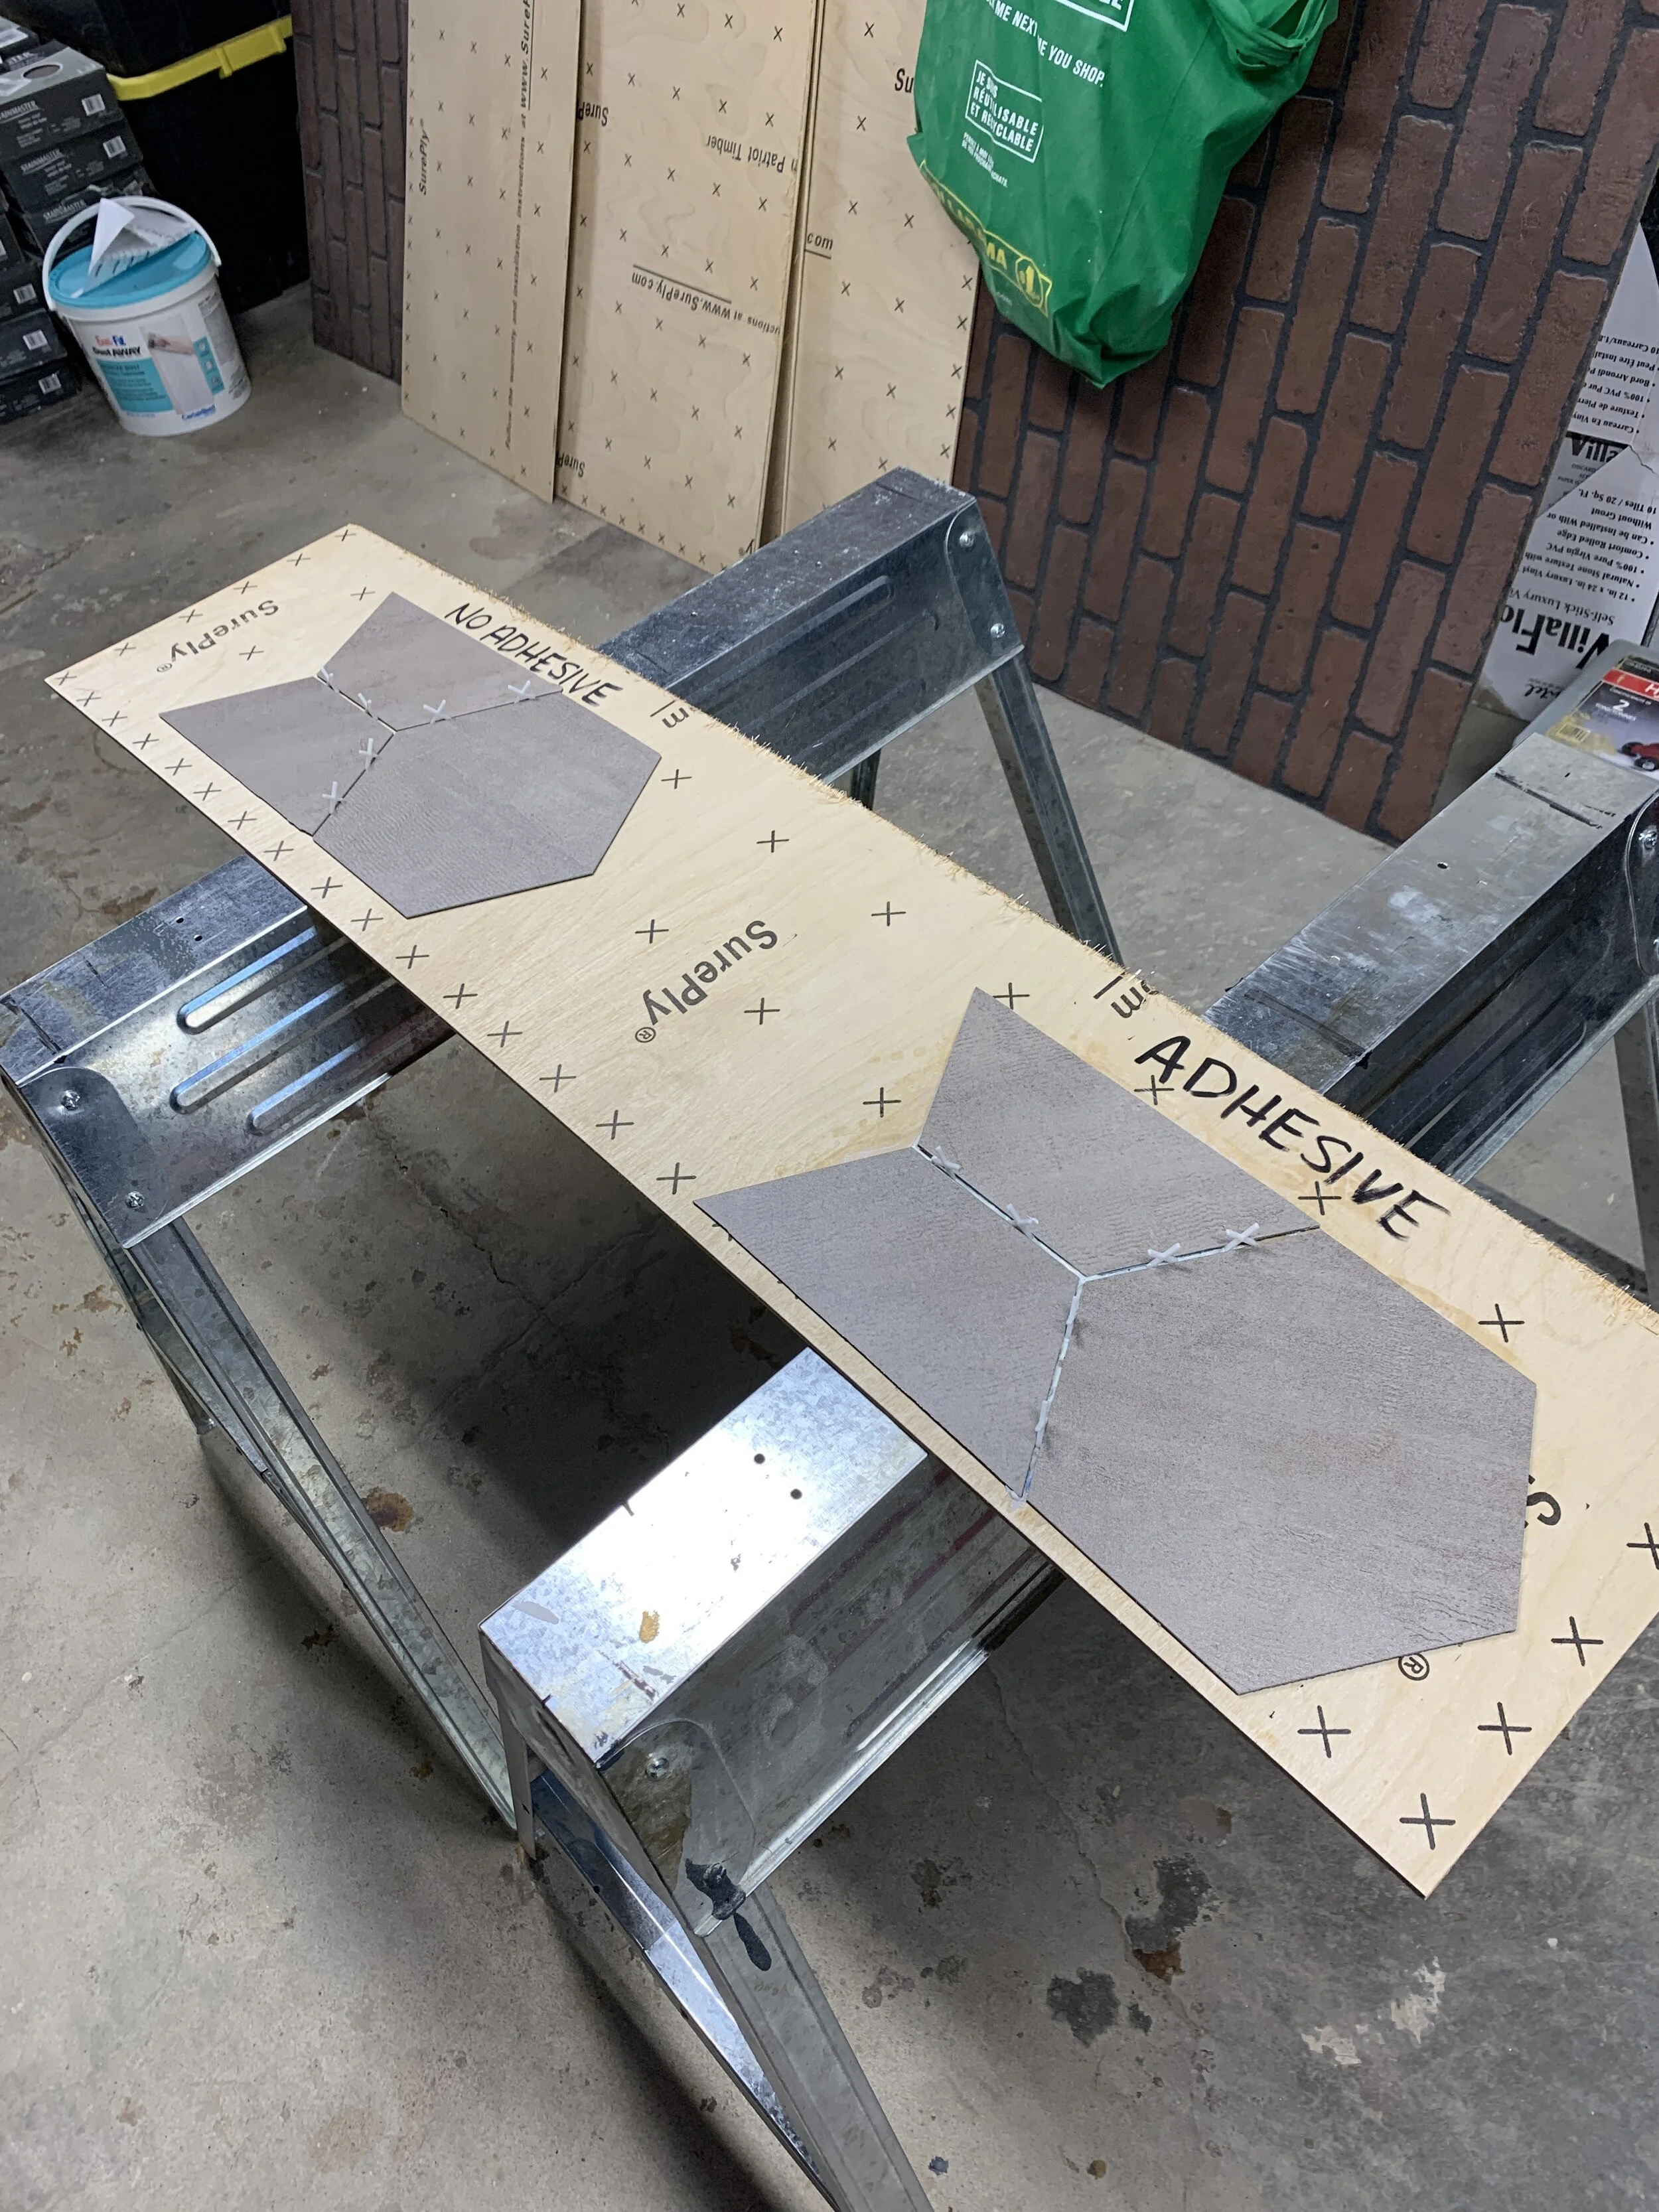
The tile I chose is “peel and stick” which means it has it’s own adhesive but I wanted to be sure it would last so I did a few different test installations on scrap underlayment to see if I needed to add extra tile adhesive. In the end I determined that I didn’t need to use extra adhesive (great news since it was really messy) but I did need to follow all the fine print in the directions which included priming the underlayment with a latex primer, and applying weight to the tiles. The adhesive the tiles use is pressure-sensitive, so I rented a 100 lb. tile roller to really press them down and make them last. Finally, I’ll grout them using vinyl-tile grout. I’m having a bit of a hard time finding a supplier with the colour options I want so if you know of anywhere for Ontarians, let me know!
I’m hoping tiling and grouting the kitchen space as well as the entry and hall will only take me another week and a half, but I’ll check back in next week with an update on how things are going! In the meantime, check out all the other awesome projects on the One Room Challenge blog, and follow along on my Instagram for real-time updates!
See you next week!