DIY Harry Potter Favors!
As promised, today I’ve got a follow up post walking you through some of the DIYs I did for my friend Amanda’s bachelorette in September! We did a “She Found a Keeper/She’s a Catch” Harry Potter/Quidditch theme for her winery tour day of fun, but these would work great for any Harry Potter themed party!

Today I’ll walk you through decorating the favor bags, and making the flying keys, golden snitches, and chocolate frogs!
Personalized Bags
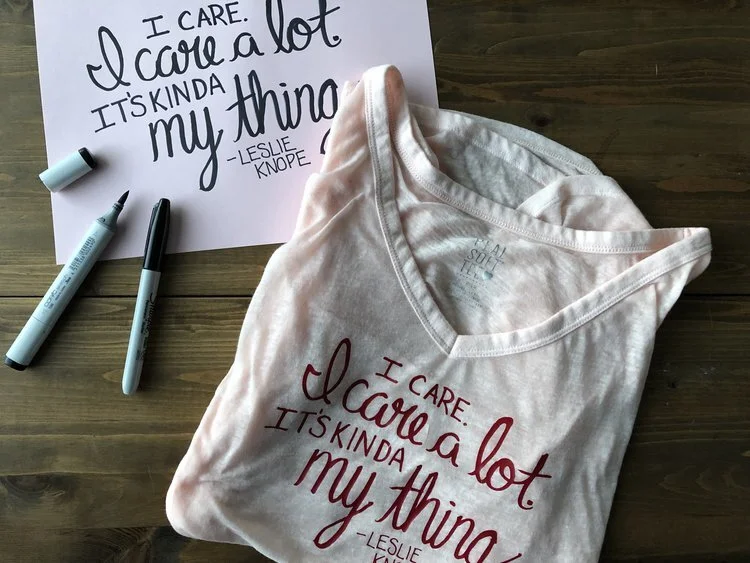
First up, the bags! I think it would be fun to decorate not only favor bags for parties of any kind but also for personalized gift bags. This was really easy with my Cricut and some adhesive vinyl, and the same process is used for applying adhesive vinyl to pretty much any surface, besides fabrics. If you’re interested in seeing how to apply iron-on vinyl to fabric (for the shirts or anything else) you can check out my post on decorating felt totes!
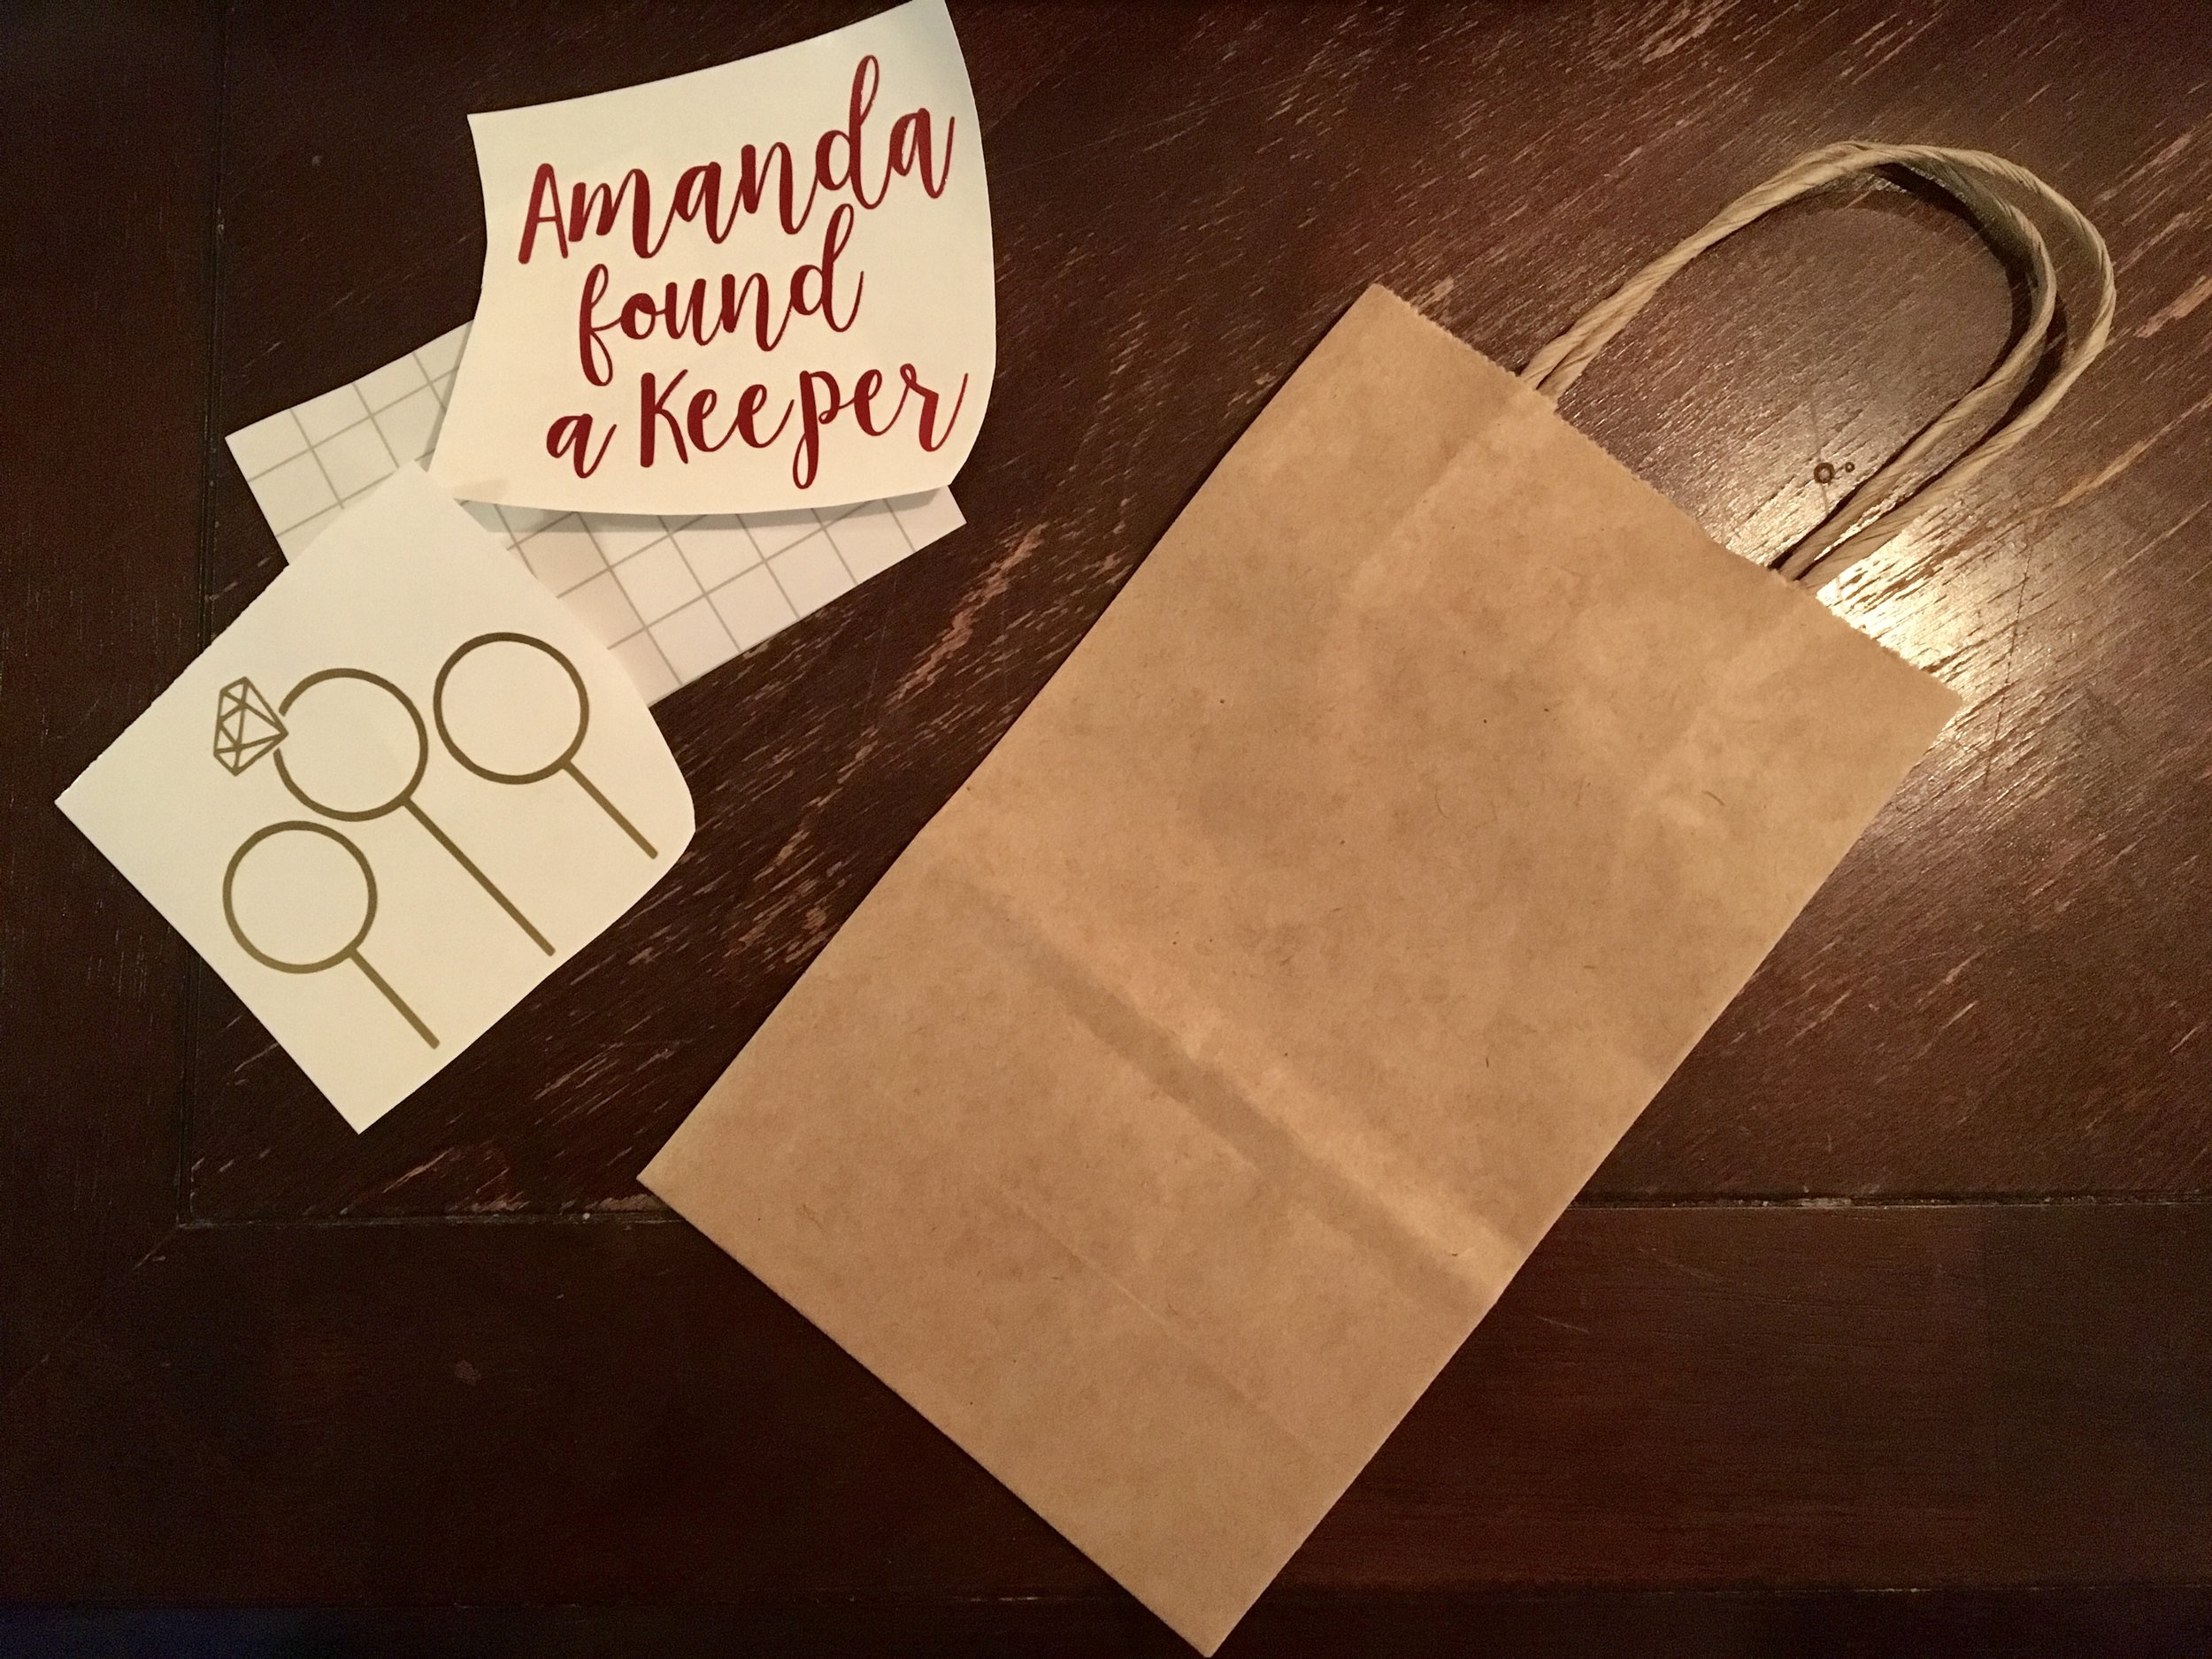
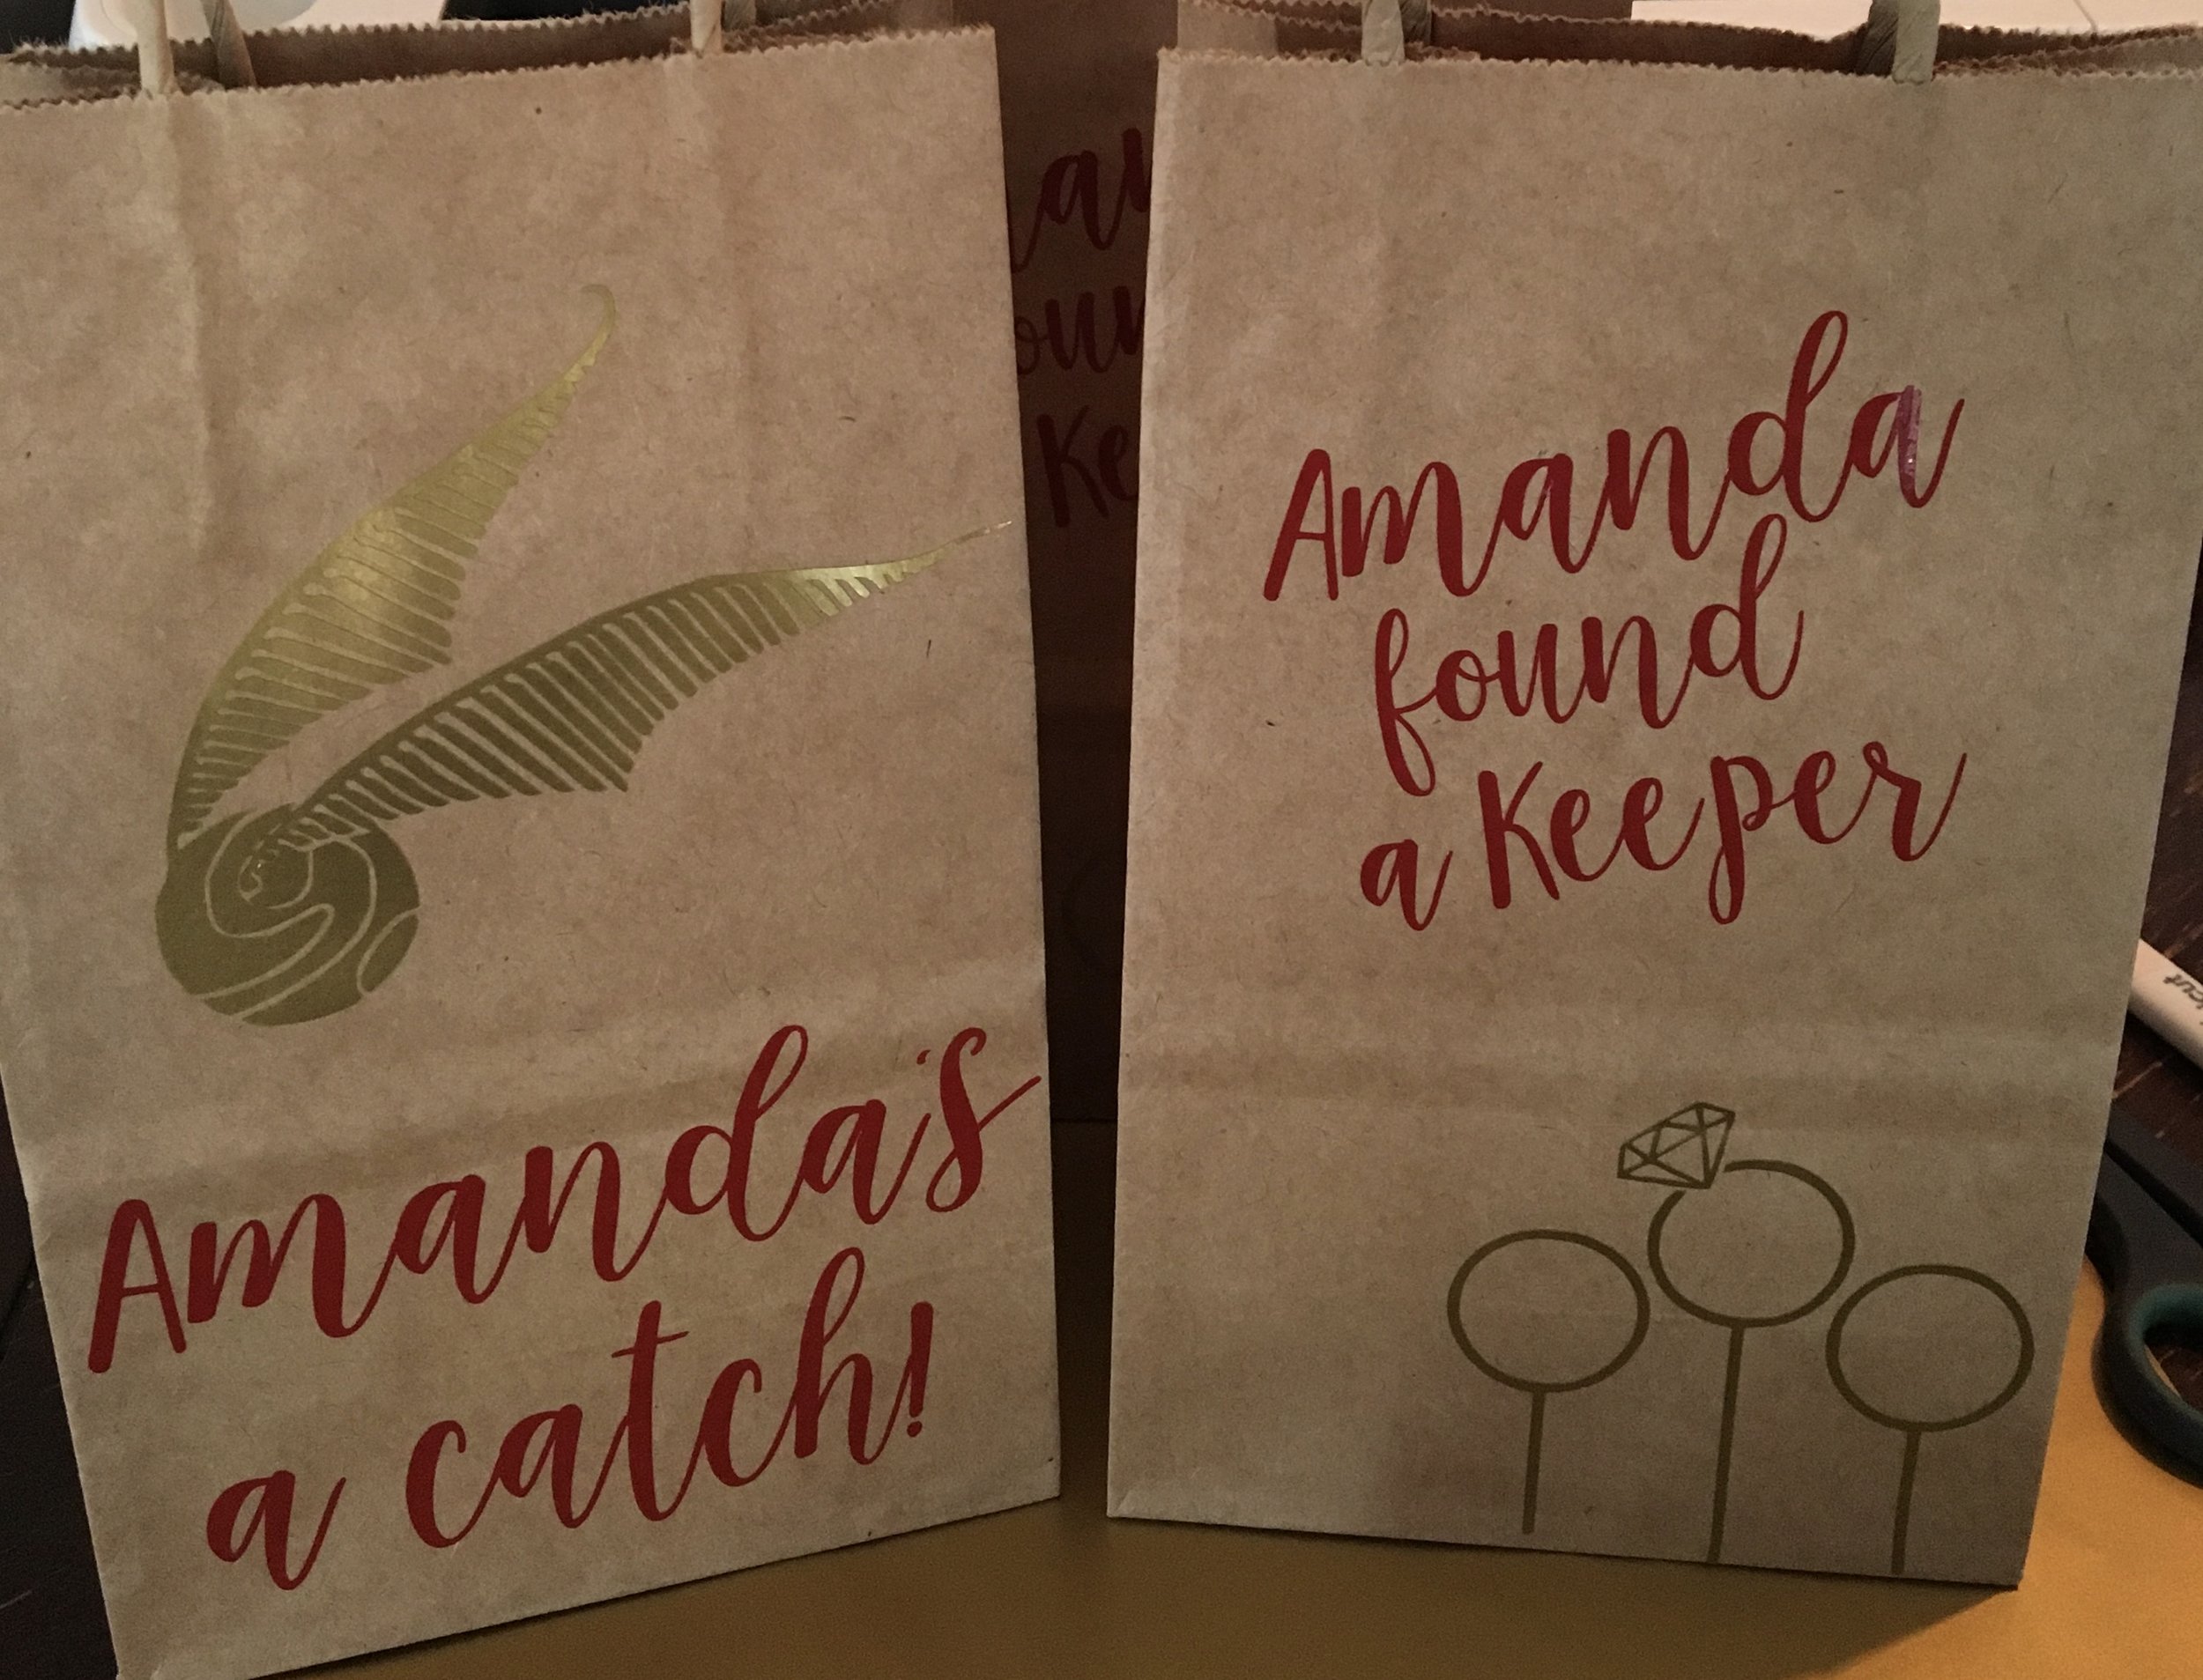
I went with plain, brown kraft paper bags for this project which I purchased at Michaels. Any time you’re shopping at Michaels make sure to capitalize on coupons! With a few exceptions, there’s essentially always a 40-50% off one item coupon available. I grabbed some regular adhesive vinyl in gold and maroon and designed two different styles of bag. I ended up using one style for Amanda’s bag and the other for everyone else. You can grab the “Amanda Found a Keeper” style here!
First you’ll want to measure your bags and then size your decals using the built-in rulers in Design Space. Next cut your shapes out of the appropriate colours of vinyl. Once they’re properly cut you can use a weeding tool (or any tweezers and sharp skewers) to remove the negative parts of the image.
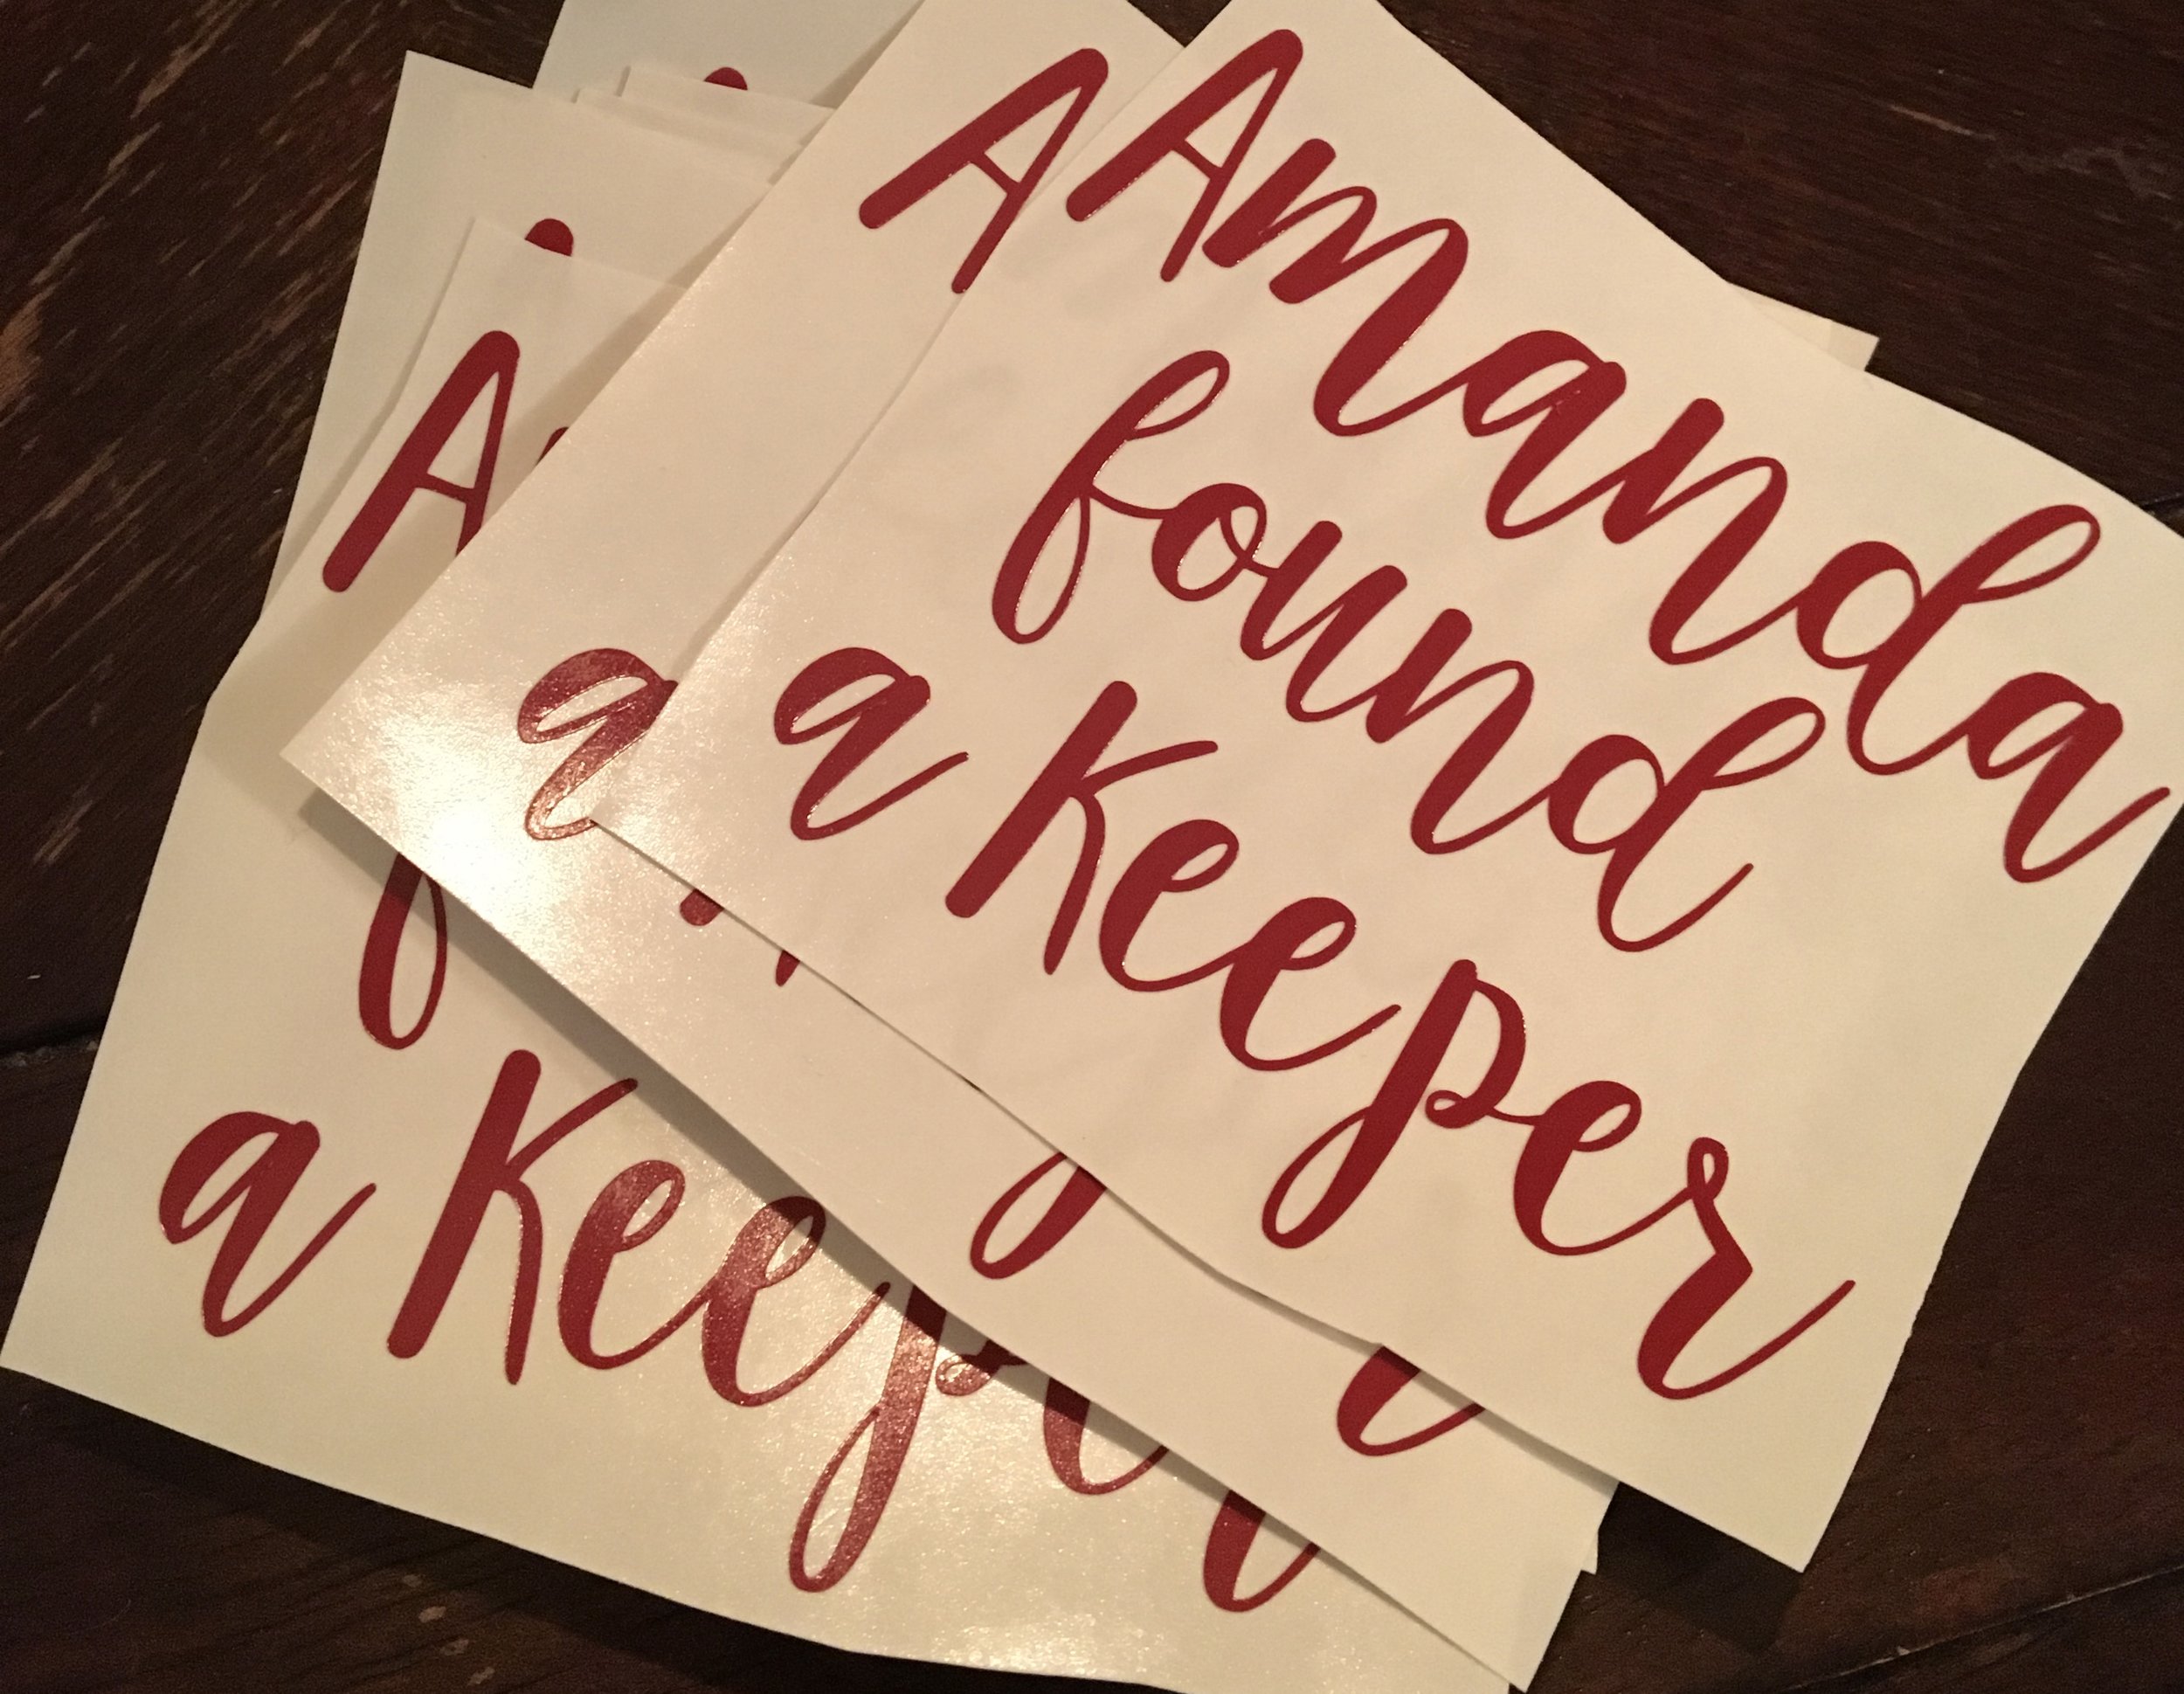
Next you’ll use clear transfer tape to move all the finnicky little parts of the image to your project surface in one go! So easy to customize for any occasion.
Flying Keys
Obviously a lot of the favors given at bachelorette parties are on theme for the day, or consumable items to be used that day or the next. I think that’s fun and totally fine! That said I like the idea of giving something that can be kept as a souvenir and used in the future - that means it needs to be something practical, and ideally not too overtly themed. I did include cute lightning bolt necklaces in these bags as well, but I didn’t think that was necessarily something everyone would use in the future (though I do wear mine a lot!).

I thought a great item anyone could use would be a bottle opener. Most people already have one lying around somewhere but it’s always nice to have a spare, or one to keep if you have a bar somewhere else in your home, outside by the barbecue, in a cooler, etc.! Since these old fashion key style openers are so cute you could actually even keep them on your keys.
So the base item was great but had nothing to do with the Harry Potter theme at all. And you guys, I love when things are on theme. When I think keys & Harry Potter I think of the flying keys that acted as a barrier to the Philosopher’s Stone. I had the idea to attach a small set of wings to the keys using a dot of hot glue so that people could pluck the wings right off and not have to be on theme forever. I ended up making the wings out of vellum.

I found the wing design online and had my Cricut draw on the design with a marker and cut out the vellum. This made it easy to do the number I needed! If you don’t have a Cricut though you could freehand the wings or even print one sample and trace them onto the vellum before cutting out the simple shape yourself. Then simply attach to the key with hot glue.

Golden Snitches
I wanted to include a sweet treat in the bags and I’m definitely not the first person to notice that Ferrero Rocher chocolates make perfect little golden snitches. For these I found a shimmery white paper and used my Cricut to cut out a wing pattern which I again attached with hot glue.
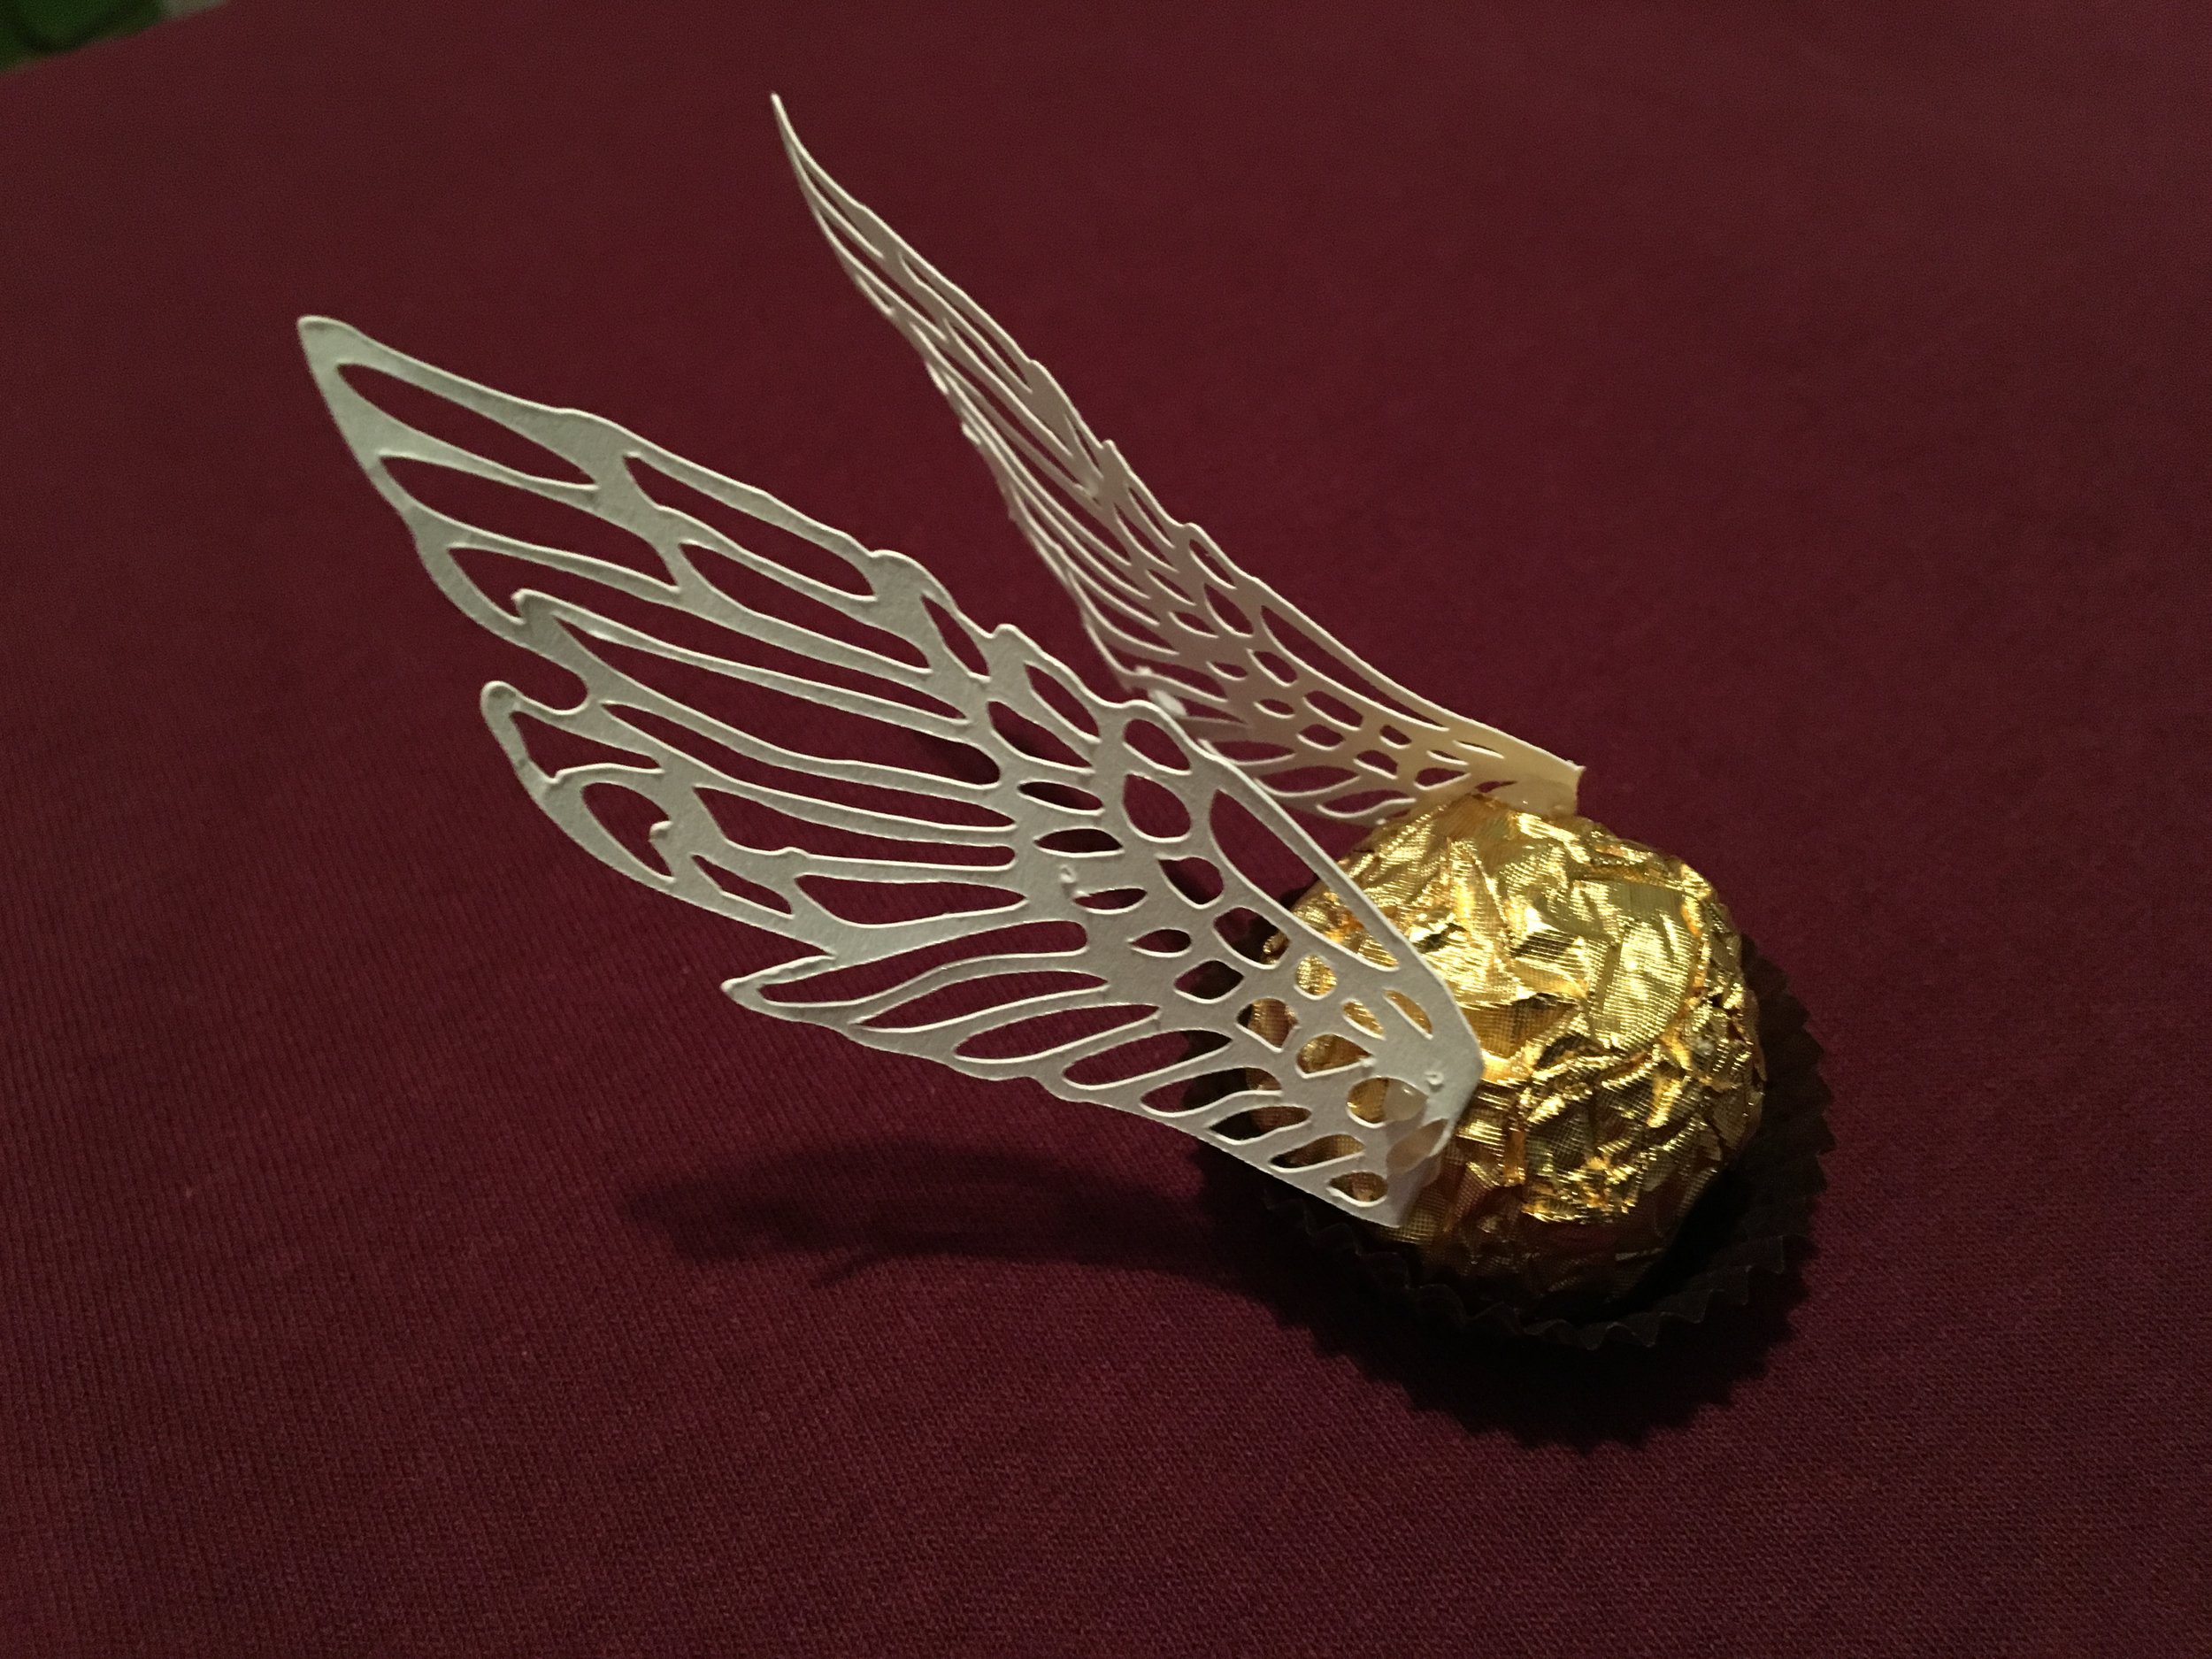
There’s really not much else to say for this one - it was just a fun opportunity to incorporate the theme for less than 15 minutes of work and $2 of materials so I took it!
Chocolate Frogs
Okay guys these were definitely the most work but they are also by FAR my favourite. I have to give enormous props to Girls on Food who were my inspiration for this project after they designed custom chocolate frog cards for the cutest bridal shower. Also huge thank you to Michelle over at Filch’s Office for the cleaned up template for not only the chocolate frog card, but the box as well!
My first step here was importing the box template into DesignSpace as a “Print and Cut” image. Since I had to assemble quite a few of these I also opted to add a few “Score” lines in Design space. These are great if you have a scoring blade, or the more cheaply available scoring tool which you can put in the “A” spot on your Cricut Maker. I added scoring lines wherever I would be making folds to expedite the assembly process.

Next I opened the chocolate frog card template in Photoshop and added a photo of the couple and a little blurb about them. This was also then uploaded to Design Space as a Print and Cut. Honestly these would have been really easy to cut by hand as they’re simple pentagons, but the Cricut was already out so why not?

I printed both the cards and the box templates onto white cardstock and then cut them! My amazing sister helped me to assemble these all in an afternoon with some glue to secure. We stuck the front and backs of the cards together, also with glue. Then, because I’m kind of a perfectionist, I also trimmed the cards down a little more to make them look more cohesive.
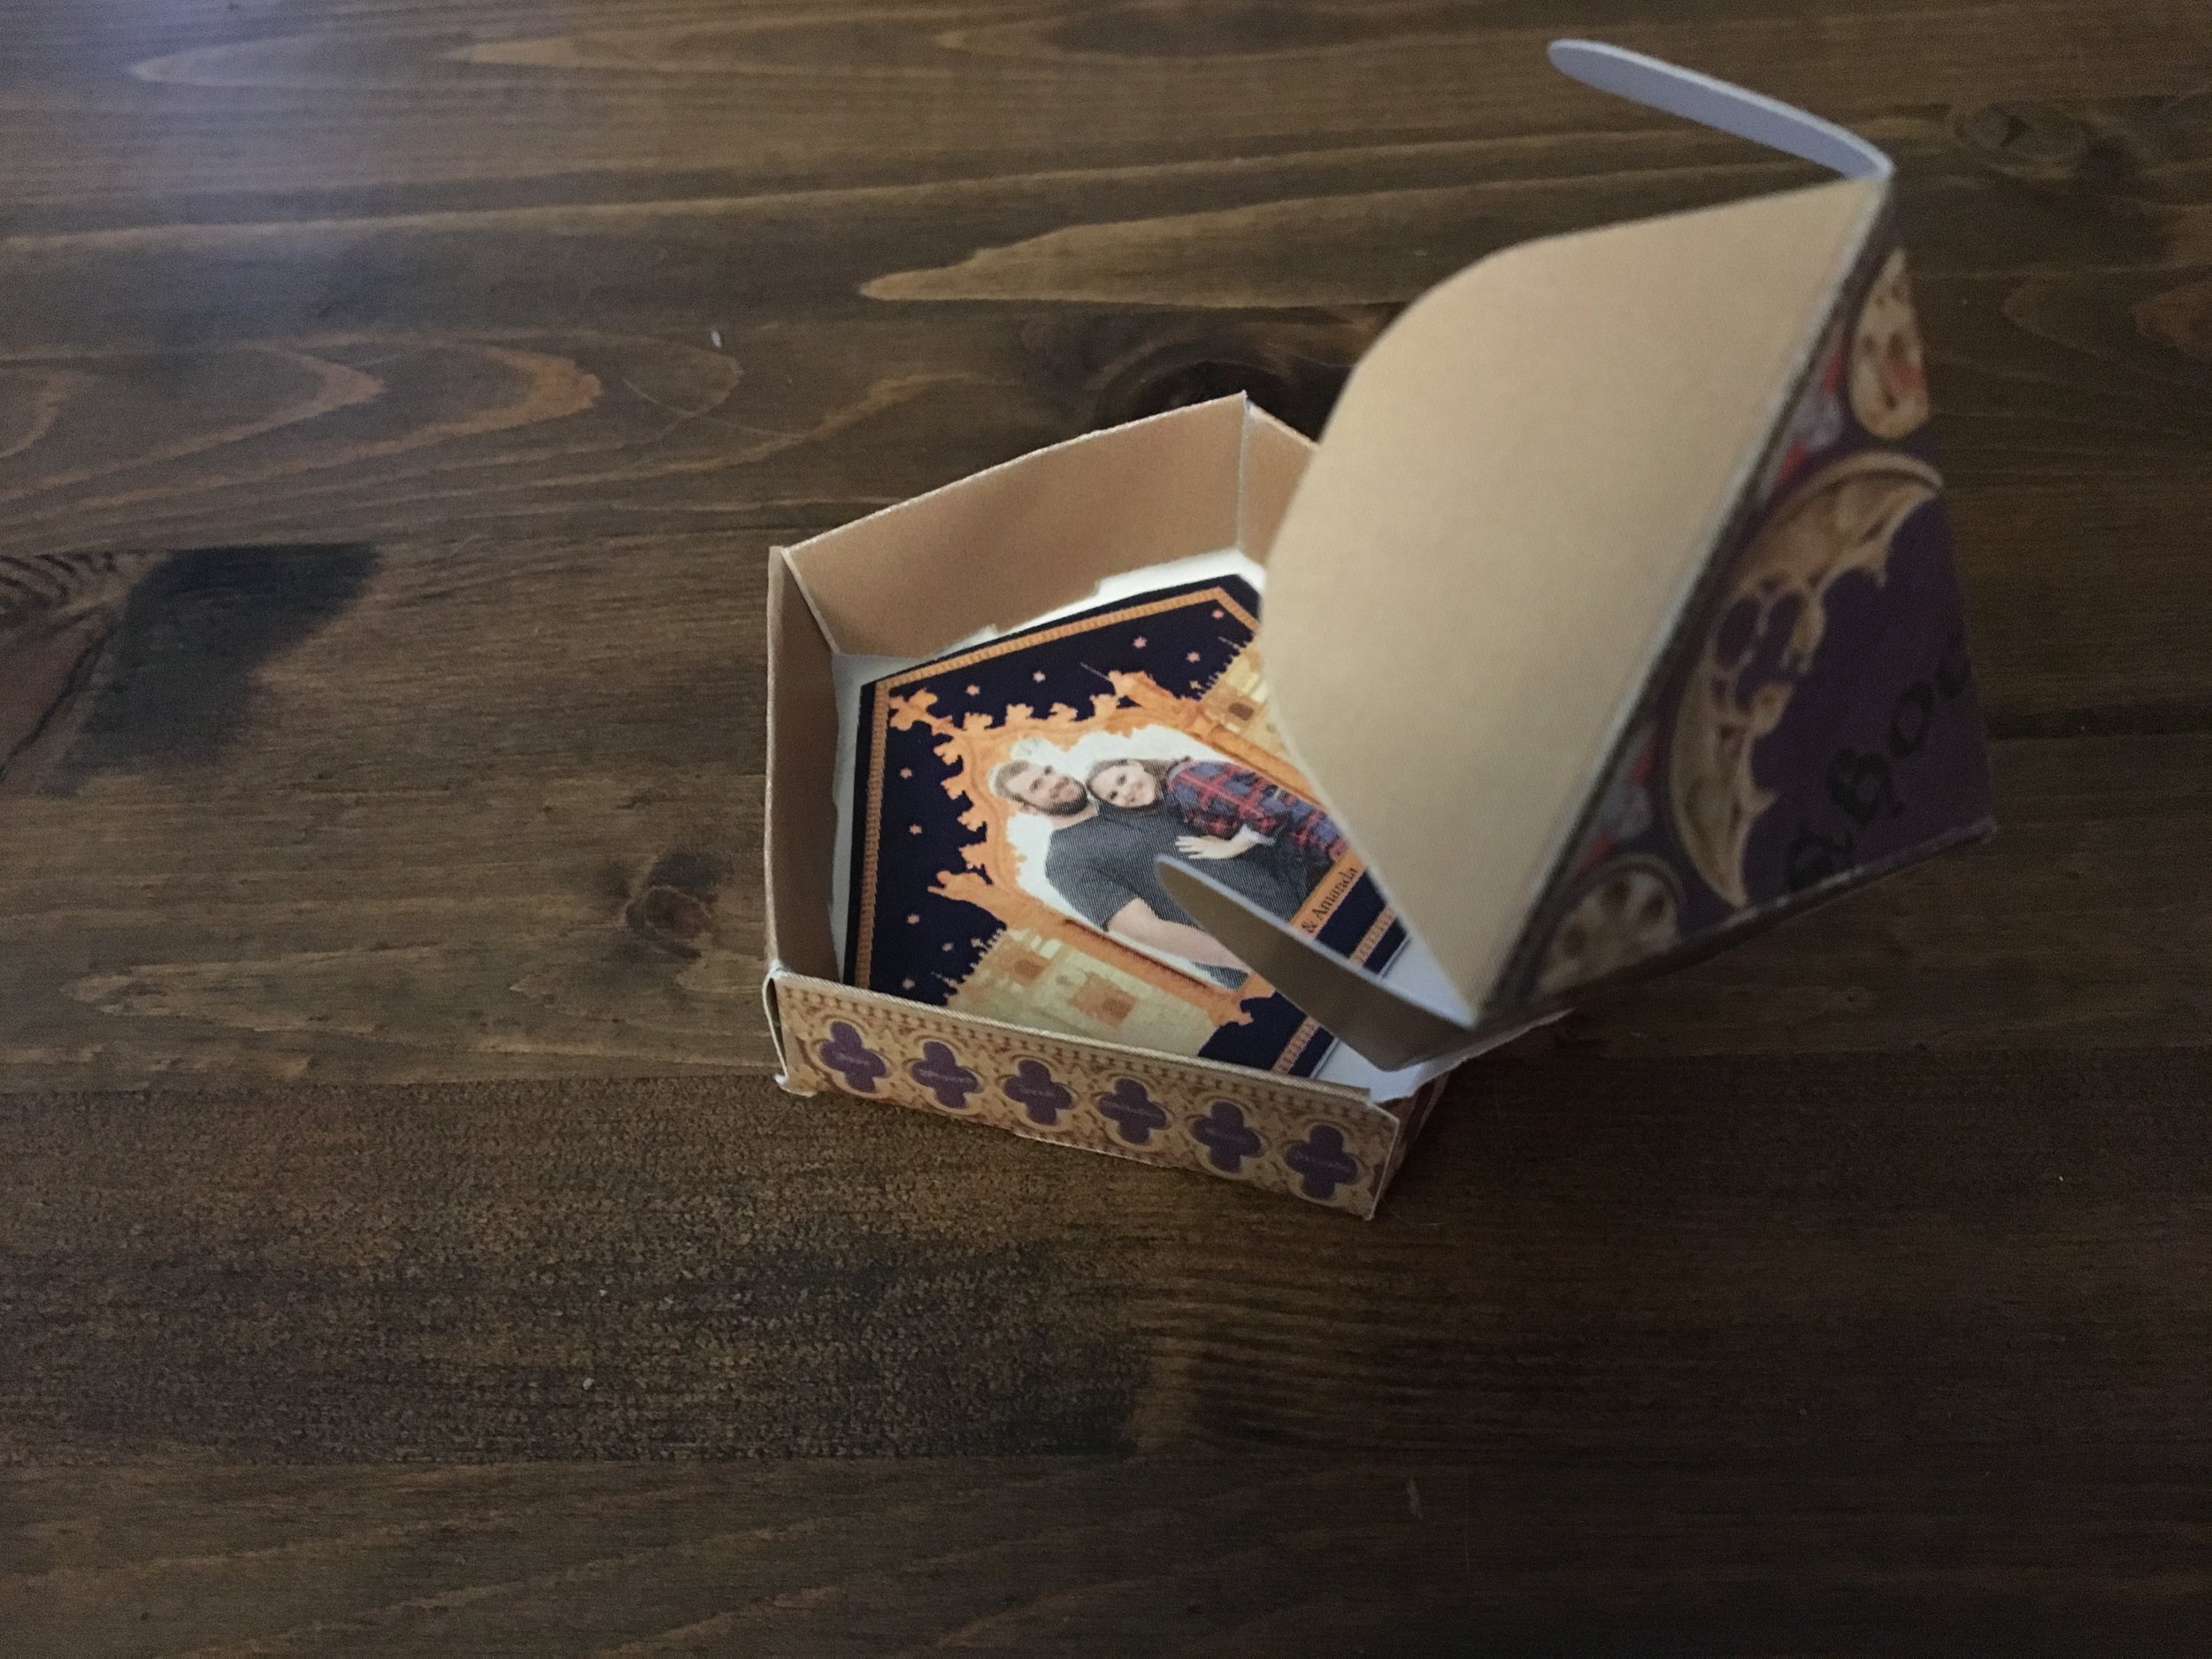
For the frogs themselves I used this mold from Amazon which was fantastic! The correct way to make these would be to temper chocolate and then pour in the molds to set but I’ll be honest - I used Wilton candy melts in milk and dark chocolate instead. They don’t quite have the snap of properly tempered chocolate but you can do the whole thing in the microwave in 10 minutes so it’s kind of worth it. I made these a few days in advance and kept them in an airtight container until the day before when I packaged each one into its own box, with a small piece of waxed paper separating it from the card it sat on. I did use a small piece of tape just to ensure the boxes would stay shut!

I hope this helps inspire you for your next party, no matter what the theme is! It’s so fun to run with an idea and I had so much fun putting together favors that I knew the bride and guests would love and appreciate!