


Tiling Two Ways | One Room Challenge: Week Four
Welcome back! We’re at the halfway mark of the One Room Challenge and if you’re just tuning in, I’m renovating the half bath in our home which was desperately in need of a makeover! You can see the earlier stages of this project as well as before photos and plans for the space here:
Week One: Before Photos & Moodboard
Week Two: Demo & Paint
Week Three: Lighting in an Oddly-Shaped Space
This week we’re tackling tiling! This is only my second major tiling job, the first being the full bath downstairs. Much like the downstairs bathroom I’ll be using two different tiles - a larger patterned tile for the floor and a smaller, white subway tile for the walls (as I did in the shower walls) but this time there’s a twist! I’m actually using the same floor tile in this bathroom (as I did with paint colour) to bring some cohesiveness into the house. For the walls, however, since subway tiling them was a last-minute decision I knew I didn’t have time for real tile. The shower surround was a labour of love but this space is even larger and working evenings and weekends it would have taken me ages, especially with all the small walls requiring extra cuts and the tile saw being two stories below this space in the basement. Ever since I used adhesive tile in the kitchen refresh I’d been looking for another reason to use them. They installed beautifully and quickly and I knew that would work great in this space, especially since there’s not a tub or shower in this room so they’re never going to get really wet.
floor tile

The floors in both bathrooms in the house had been replaced with engineered hardwood before it went on the market, I suspect in an effort to hide some pretty significant water damage the old floors held evidence of. We ripped those out first and then made sure the subfloor was solid before applying mortar and tile. Before I laid the first tile I tested out a few arrangements so I could tile the space with the smallest number of cuts, and to make the toilet plumbing as easy as possible to work around. This helped but the small size and weird shape of the space still made this project pretty painstaking as I needed to start one row in the doorway so that area would be the most straight but then had to work over and around it.
I used 1/8” spacers in this bathroom to match what we did downstairs, but since I’m not great at levelling tiles I actually used a different style of spacer this time to help with levelling. After a slightly traumatic grouting experience in the downstairs bathroom (which I now suspect may be a result of expired powdered grout), I decided to splurge on pre-mixed grout for this small space to make my life a little easier. I was hoping to grout earlier today but my mortar isn’t dry yet so it’ll have to wait until tomorrow. I’m hopeful I can grout the whole room in just a few hours but of course nothing else has gone to plan so we’ll see!
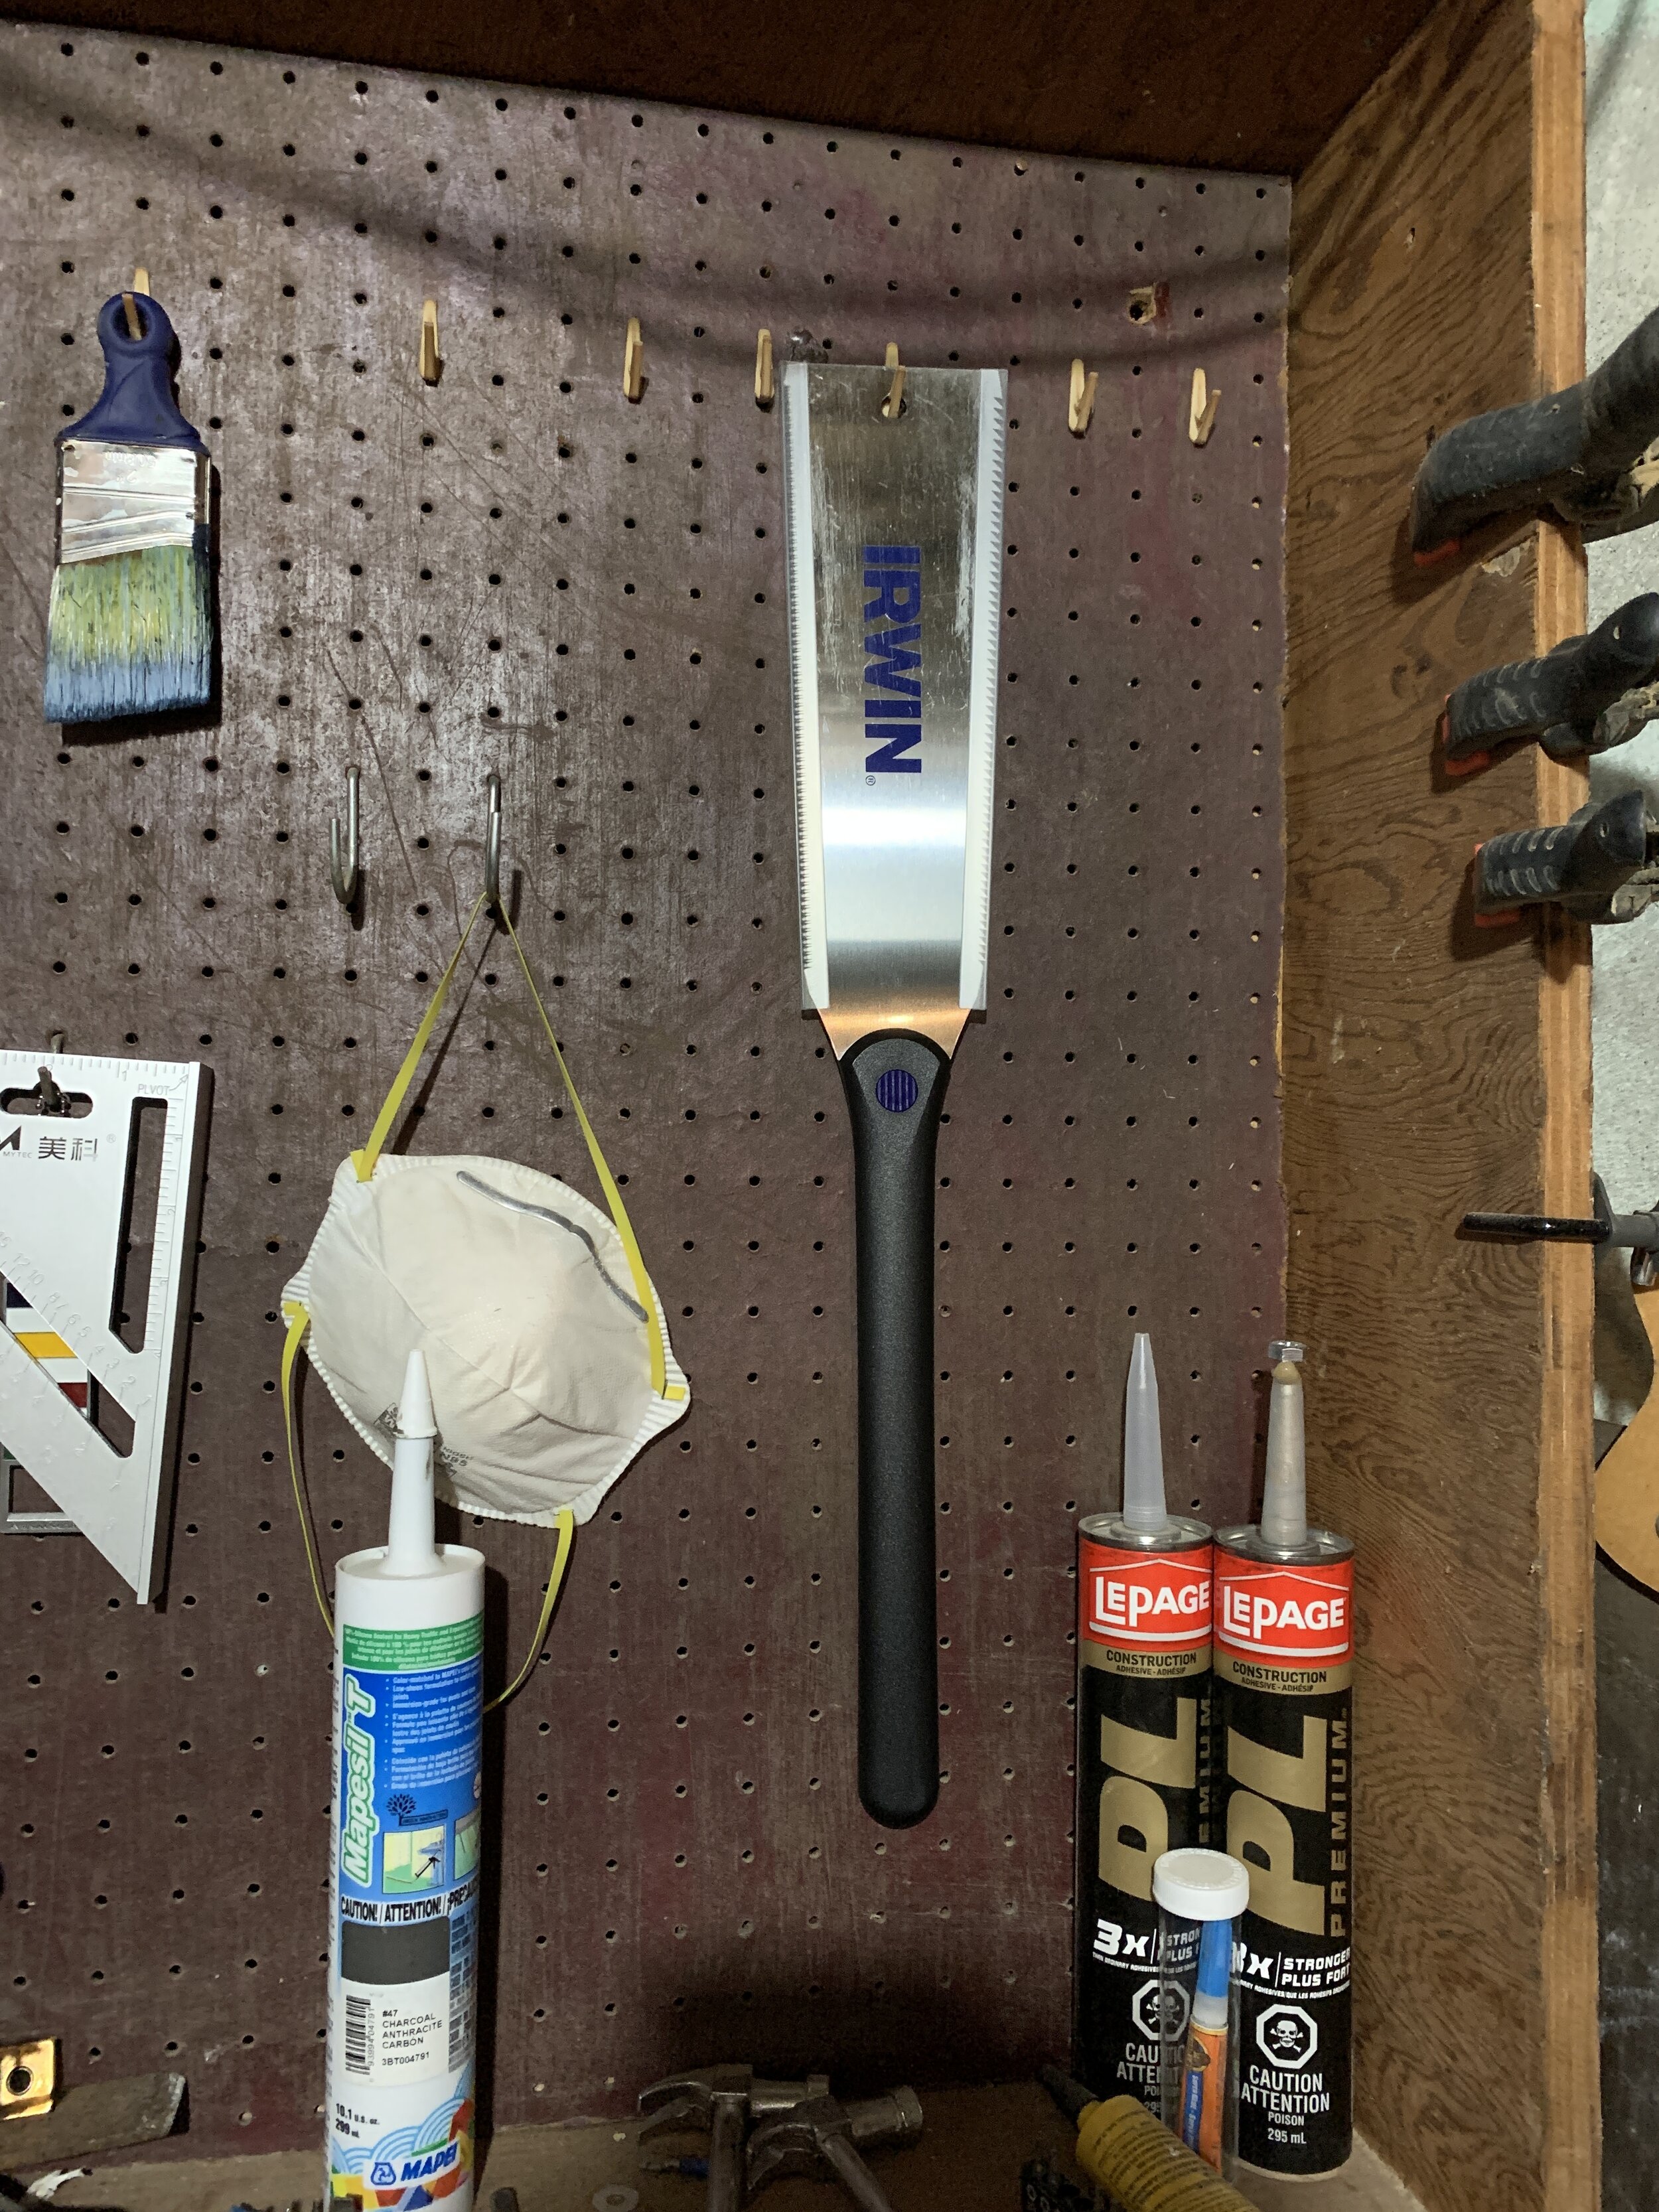
I also mentioned on Instagram earlier this week that I needed a reciprocating saw (or “Sawzall”) to cut away the bottom of the door trim so I could slides the tiles under. In the end instead of buying or borrowing one I ended up making the much smaller investment of buying a pull saw. It has a flexible blade and was really easy to use and is great for flush cuts in general so I can see myself using it for a ton of different projects in the future.
Start to finish and with the old floors removed ahead of time, I had to spend 4 days tiling this space so that different areas could have at least some drying time in between. I used a wet saw borrowed from a friend to speed up the tile-cutting process for the edges and corners (thanks Kurtis!) which helped a ton but this can also be done by scoring and snapping tiles. I’ll then have waiting another 48 to 72 hours after laying the final tiles before I can go in and grout, and it’ll take at least another 24 hours to dry before I can work in the space again.
wall tile

Especially given how long the floor tile has taken, I’m now super grateful I decided to spend a little extra to make the wall tile install easier. These tiles have a true 3-dimensional tile look (not like the vinyl peel-and-stick tiles of the 90s), and apply almost one square-foot at a time. Each sheet can be cut with scissors or an utility knife. Install a similar product in the kitchen only took me a couple hours and was honestly really fun so I’ve been looking forward to this!
When I first demoed the bathroom a few weeks ago I stuck two scraps of tile to the wall so that I could gauge how good the adhesive was and if I’d need to spray another adhesive product on. I couldn’t imagine anything worse than spending days sticking tiles to all the walls only to walk in days or weeks later and find them all peeling off. In the interim, the weather and humidity has changed a lot and we’ve run the furnace and air conditioner at various times. It’s almost 4 weeks later and the sample tiles are still firmly adhered so I’m really confident going into this install!
Here’s what’s left to do over the next two weeks (yikes!):
Grout floors
Install wall tile
Install baseboard
Complete new sink plumbing
Install toilet
Install vanity with sink
Install vanity mirror
Install wall sconces
Complete wiring for sconces
Install bathroom fan
Vent bathroom fan
Complete wiring for bathroom fan
Build and install floating shelves
Touch up paint on door and door trim
Style
So reasonable! I’m definitely not in over my head as usual!
That said, I’m super happy with the beautiful shell of a space that’s slowly coming together! Next week, I’ll be chatting about choosing and installing the vanity and replumbing the sink and toilet. For updates in the meantime check out my Instagram stories! Also head over to the One Room Challenge blog to check out all the other amazing projects underway!


