


Moody & Functional Half Bath | One Room Challenge: Reveal
We’re back for the reveal of the One Room Challenge and I’m done! I always say that no room is ever really done and that continues to be true - I have a bunch of lumber I need to unload from the car to build some floating shelves for over the toilet. But since those will mostly be for aesthetics (they’ll hold some functional, but mostly decorative items), I’m going to give myself a break for once in my life and call this the big reveal!
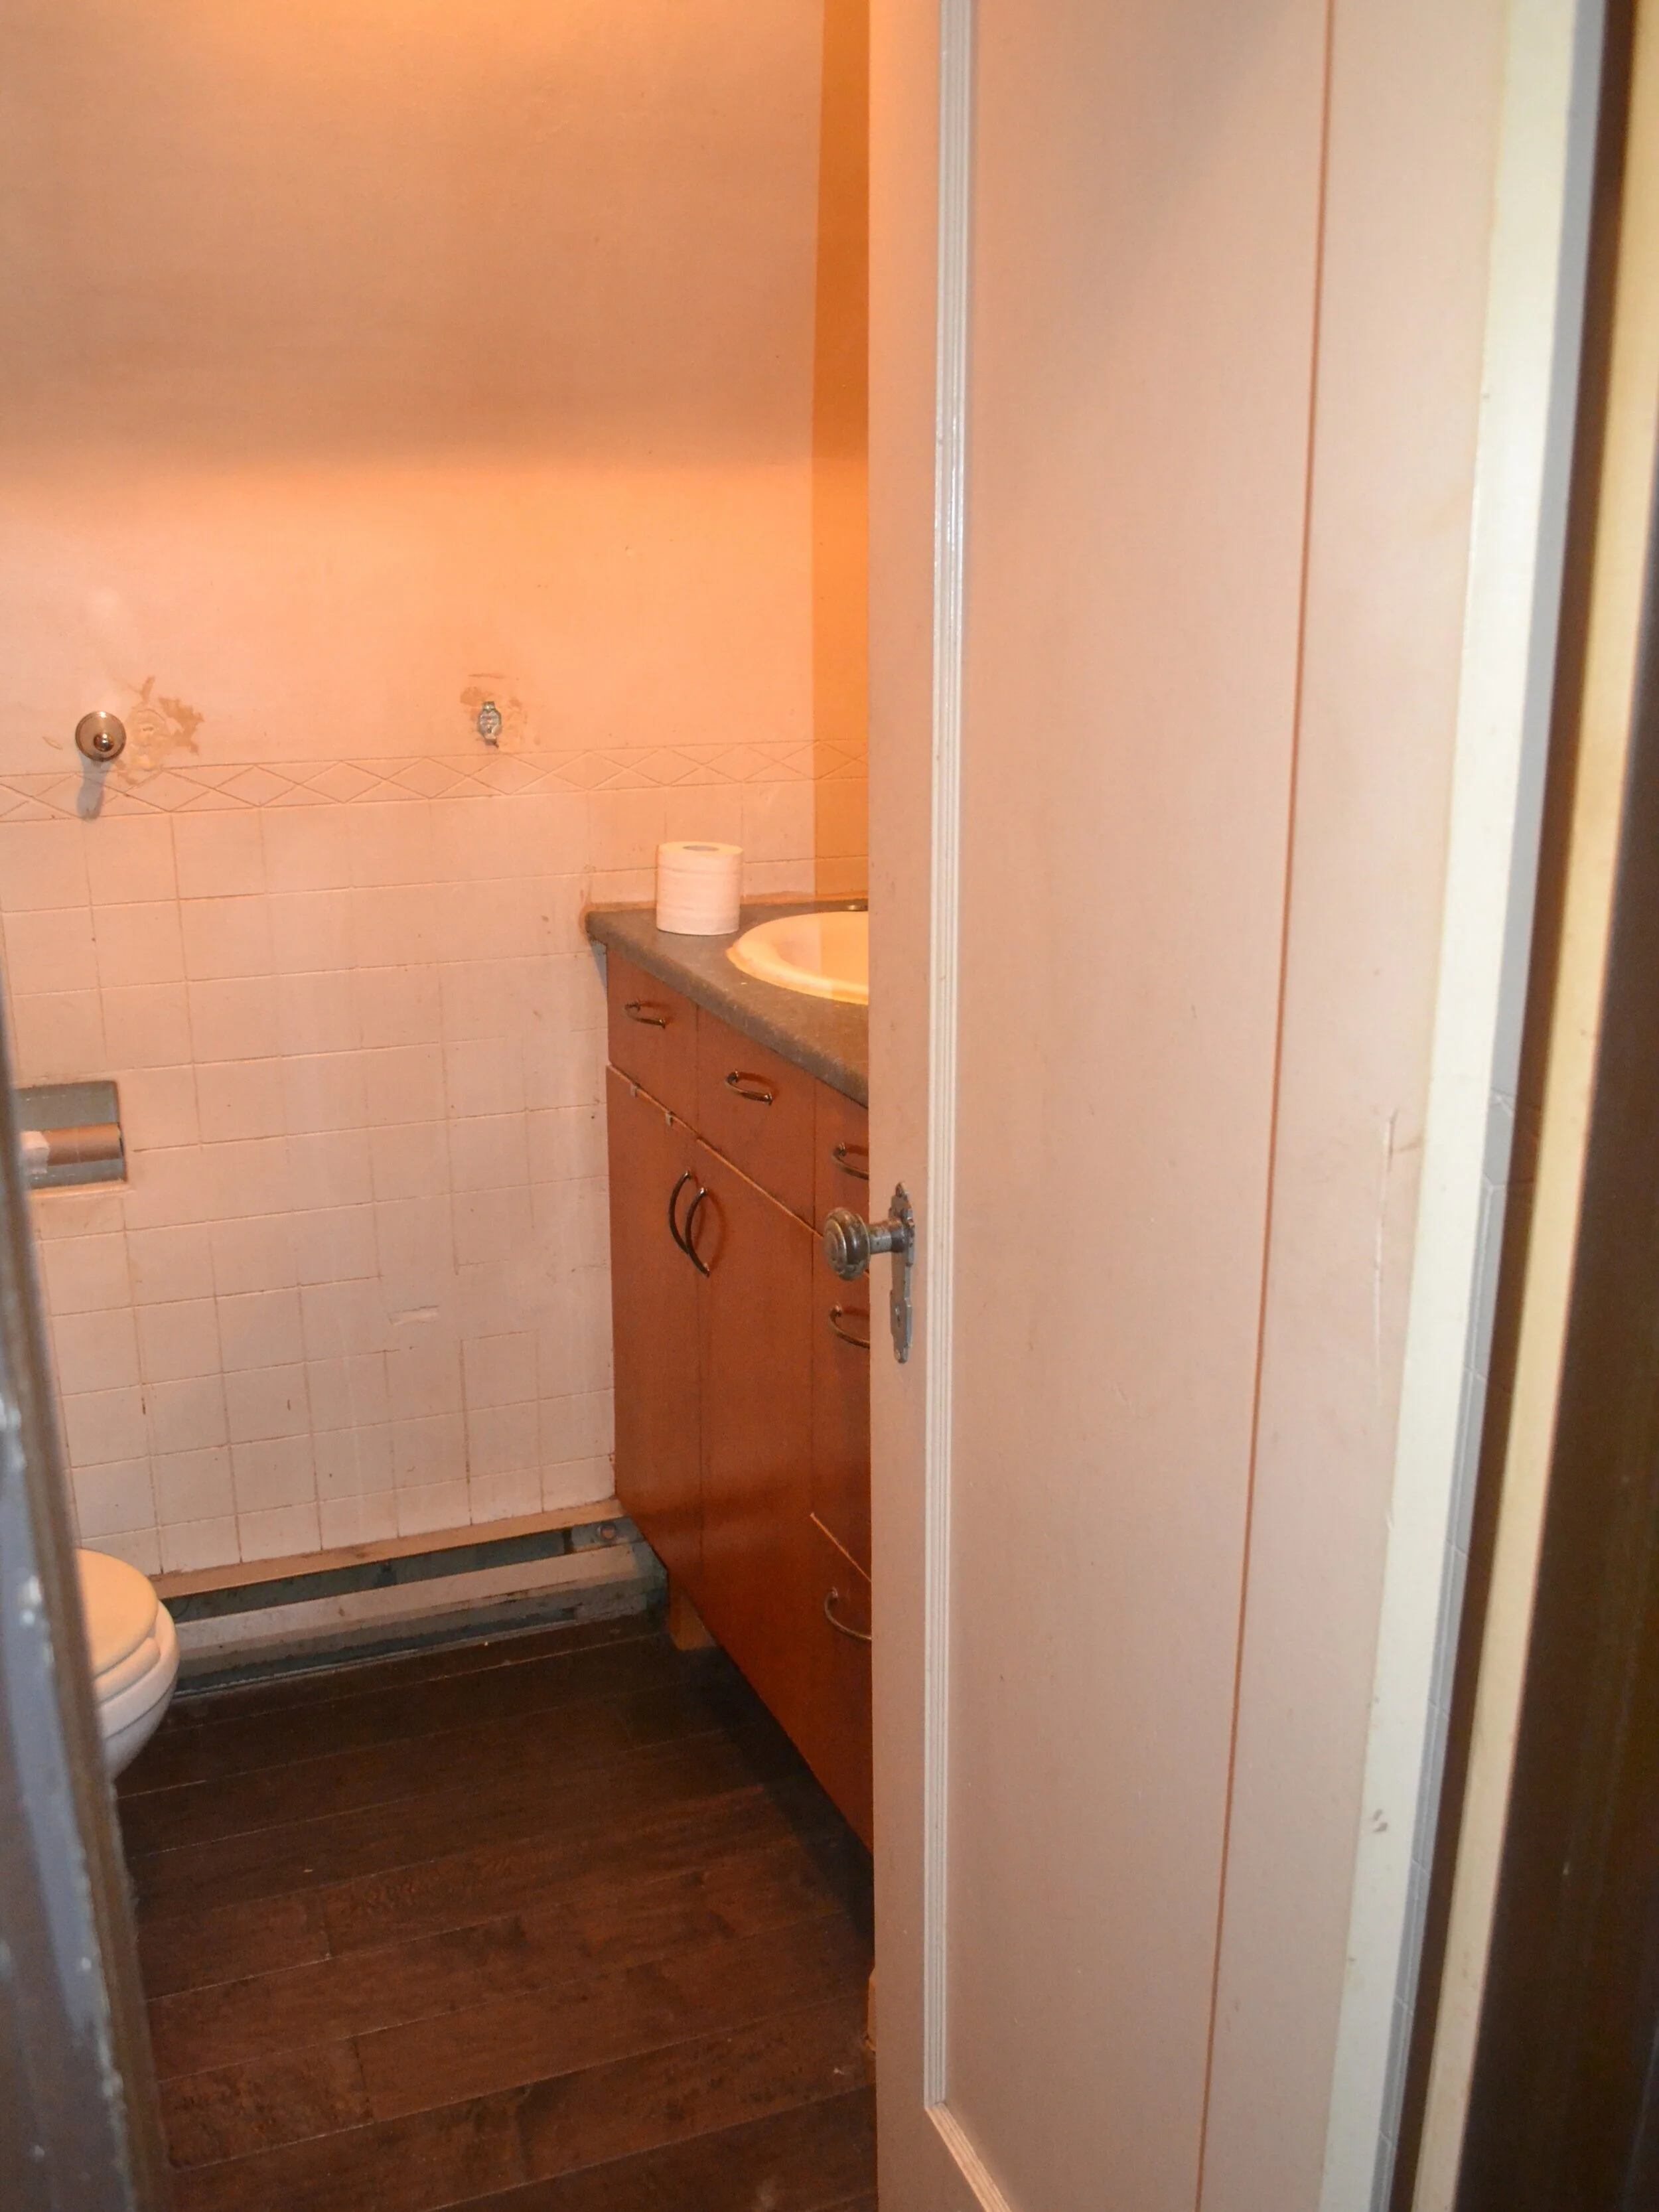
It has been an incredibly long 8 weeks and I’m pretty exhausted, but I am so grateful to have gotten to work on this space! It’s hard to overstate how big of a deal having this space made over is for my partner and I in our day-to-day life. It was barely functional before, it felt gross and cramped and we honestly just really hated being in it. I was so embarrassed any time someone saw it - it was just one of the only parts of the house that had had no attention. I’d say we normally spent less than 7 minutes a day in there. I would honestly grab my toothbrush and then walk into our bedroom or around the house while I brushed because I hated being in there so much.


First, let’s chat about this stunning vanity. I had been looking for the right vanity for 8 months - vanities are shockingly expensive! Finally I found this option from Home Depot and my dad had a brilliant idea. This vanity was a little more shallow than the space allowed for, but I was having a few other issues with this wall. The original sink plumbing came through the side wall which wouldn’t have worked well with the new vanity and which would result in some lost storage space. I was also hoping to add another light fixture on the vanity wall as the existing light doesn’t allow for enough light where the mirror is. Finally, there was a small existing medicine cabinet hollow in the wall where the mirror was going, but ideally I wanted an outlet added to it so we could store our electric toothbrushes inside the cabinet instead of on the small countertop. My dad suggested building a false wall in a few inches from the original which might initially seem like it loses space but actually adds a ton of functionality to the bathroom. With this new hollow we ran the plumbing through the back of the vanity which gives me more drawer space, we added two new junction boxes for sconces on either side of the mirror, and a deeper medicine cabinet with an outlet for our electric toothbrushes. This has been a gamechanger - the bathroom feels completely different!

My next challenge here was that the strangely-shaped wall wasn’t well-suited to a rectangular mirror. Instead I went with an arched mirror which I added hinges to in order to act as a door to the medicine cabinet. I also used this trick in the downstairs bathroom and I got the initial idea from Dabito over at Old Brand New. My dad helped me install an outlet inside and I’m over the moon excited.

The size of the mirror determined its placement on the wall which left me a pretty small gap in order to fit a faucet, but I found a pretty good option which I love. The sconces throw off a beautiful warm glow which is honestly more than enough to light the bathroom for getting ready for bed. Combined with the overhead light they’re going to make shaving for my partner and doing makeup for me both worlds easier.

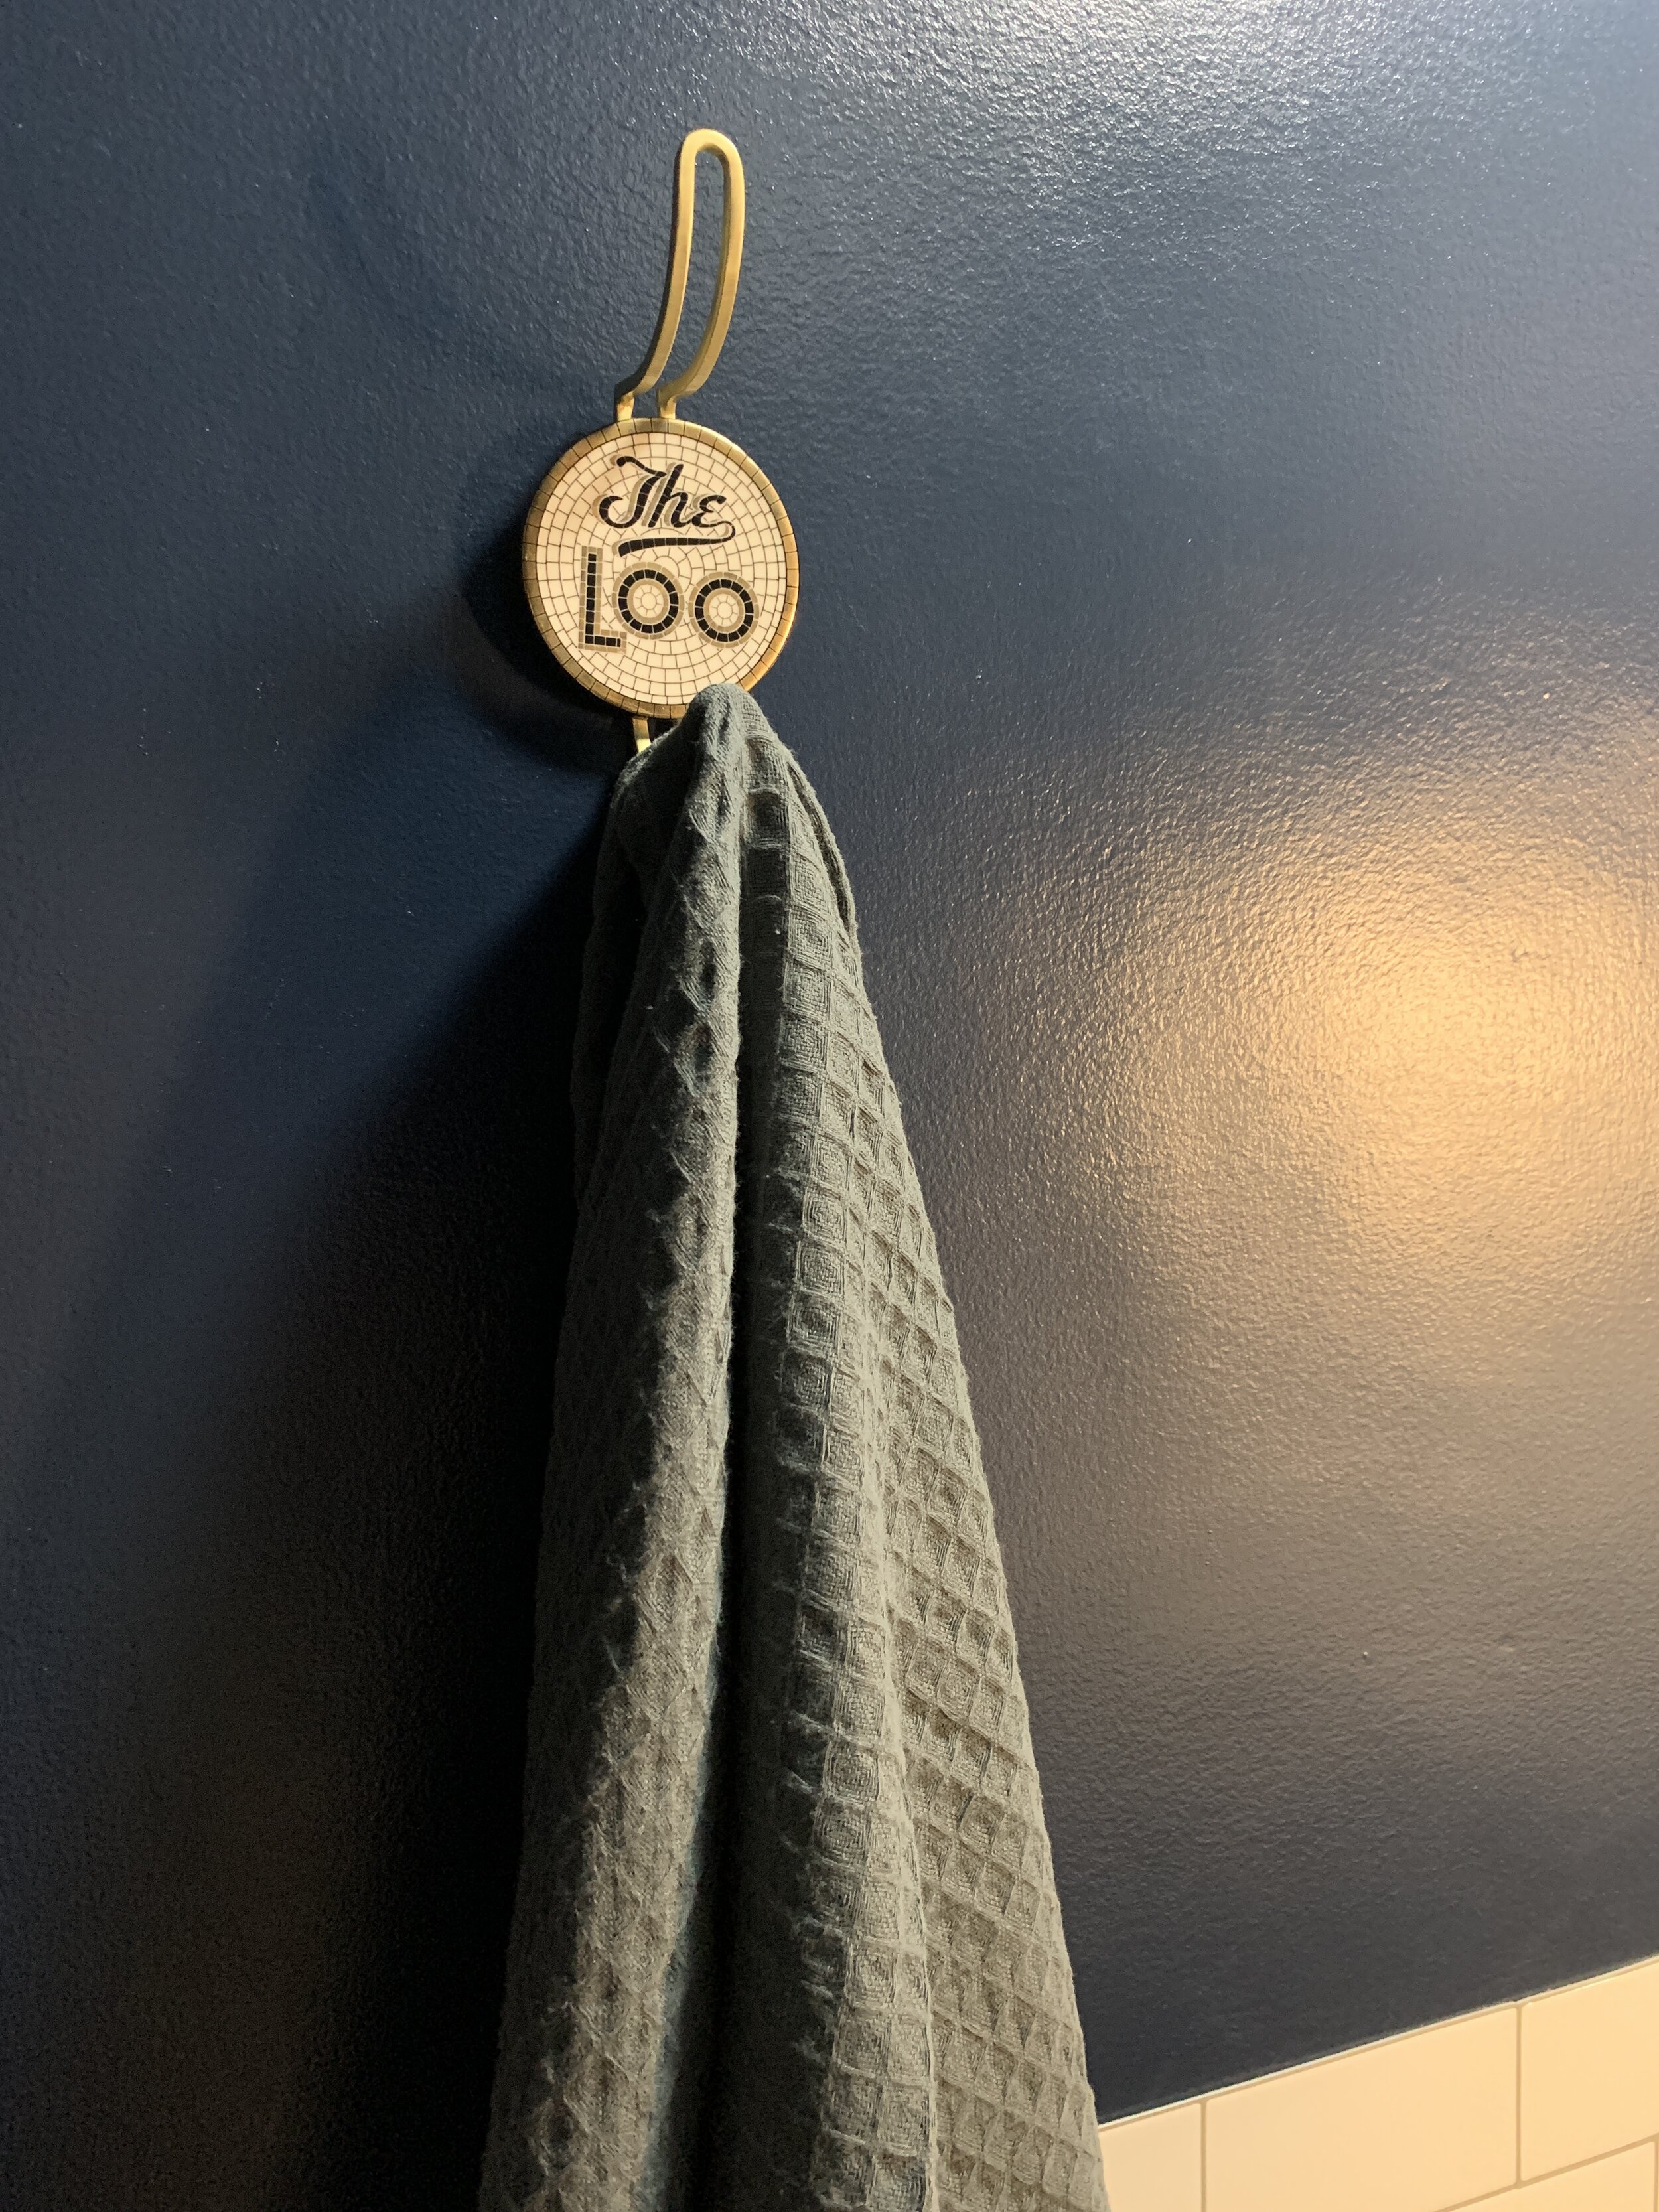
The toilet area is pretty basic but looks dramatically different from where we started. I will be adding floating shelves above the toilet to balance the space out and hold a few more things, so stay tuned for those in another post soon! I also added a new toilet paper holder and then tried the trend I’ve been seeing all over TikTok for professional looking toilet paper, ha ha!


I am so grateful to my family for all of their help and to my partner for all of his support, but I’m also really proud of myself. More than any other project I’ve done to date, this one represents so many skills learned, challenges overcome, and incredibly hard work. I don’t often let myself celebrate accomplishments like this, I’m usually only satisfied when I can keep checking things off, and I always have the next project already in mind. But I’m really trying this time to stop and be grateful - for this incredible opportunity to learn and grow, for this house I love so much, for people around me who support me doing projects that bring me joy, and for solid, properly installed floor tile.

You can see even more of what it took to pull this space together in my Instagram highlights! Also be sure to head over to the One Room Challenge blog to see all the other incredible projects participants that have been revealed - they are amazing. I’ll be back with more blog posts soon, and you’ll catch me again in the Spring One Room Challenge in April for sure - I can’t wait!
Week 1: Before Photos & Moodboard
Week 2: Demo & Paint
Week 3: Lighting an Oddly-Shaped Space
Week 4: Tiling Two Ways
Week 5: Setbacks & Moving Forward


